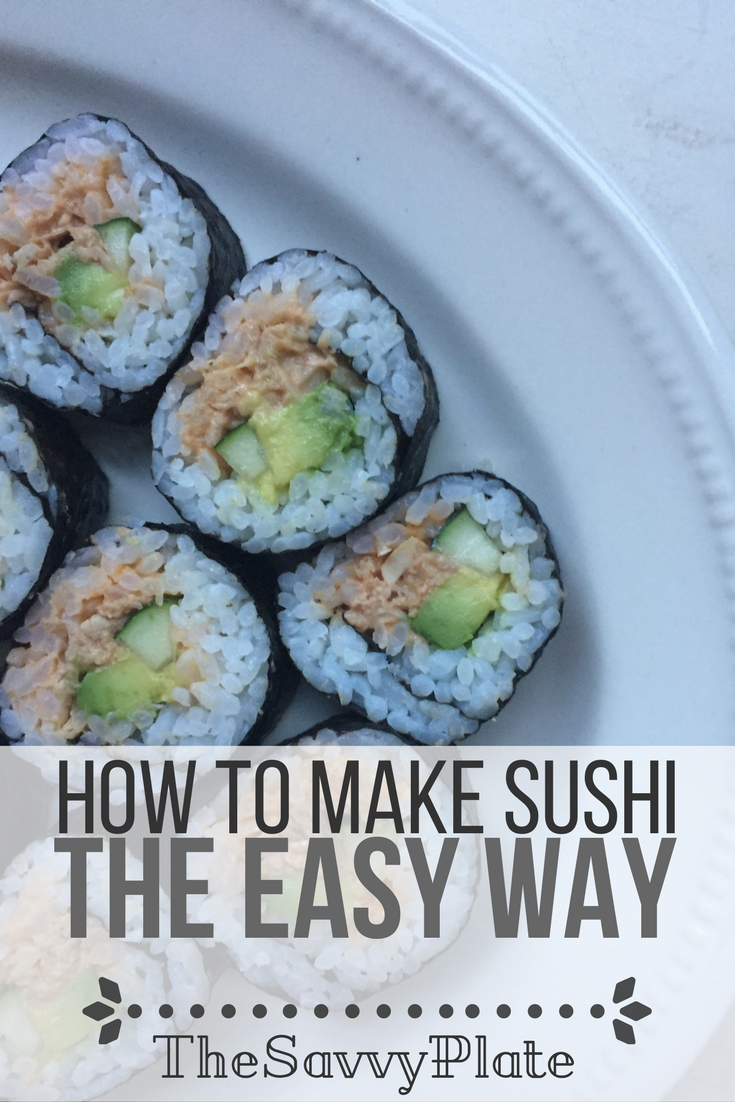
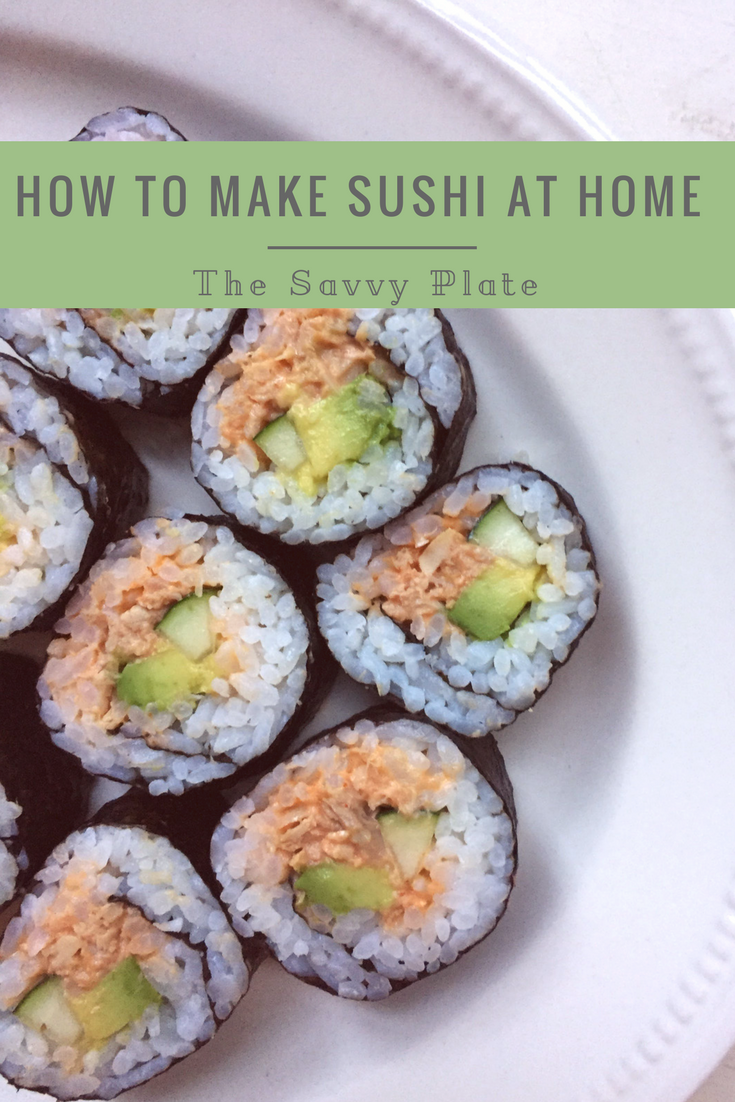
Simple Sushi (You can do this!)
I used to be really afraid to try making sushi at home. There were so many things that could go wrong. I could roll the sushi the wrong way and end up with a huge mess. I could cut the sushi the wrong way and end up with a huge mess. I could buy the wrong kind of fish and hospitalize myself and Oliver. But I decided to get over my fear and just give it a try.
And guess what? Two of those things did go wrong because it does take practice. The thing that didn’t go wrong? Buying the wrong kind of raw fish. I didn’t buy raw fish at all. (We’ll talk about that in a minute.) Also, we didn’t end up hospitalized. I count this as a sushi night WIN.
I want to encourage you, if you’d like to give homemade sushi a try, to start here. It’s a simple recipe. I won’t say it’s fail-proof, because the rolling can take some getting used to, but you’ll get the hang of it. My kitchen is a place where I try new things, even if they’re intimidating. Your kitchen can be that kind of place, too.
To make this process as simple as possible, I’m going to break it down step-by-step and give you plenty of pictures. Ready? Here we go!
But first, let me give you the disclaimer I always give when making international dishes: I do NOT claim authenticity. Sushi chefs go through a lot of training to develop the skill and talent you see in their rolls. This sushi recipe is intended only to give you an easy, accessible way to make sushi. This is weeknight apartment kitchen sushi–but it’s still good!
Simple Sushi
Tools you’ll need:
- a few bowls
- plastic wrap
- a very sharp knife
- a sushi rolling mat
- a rice paddle or spatula
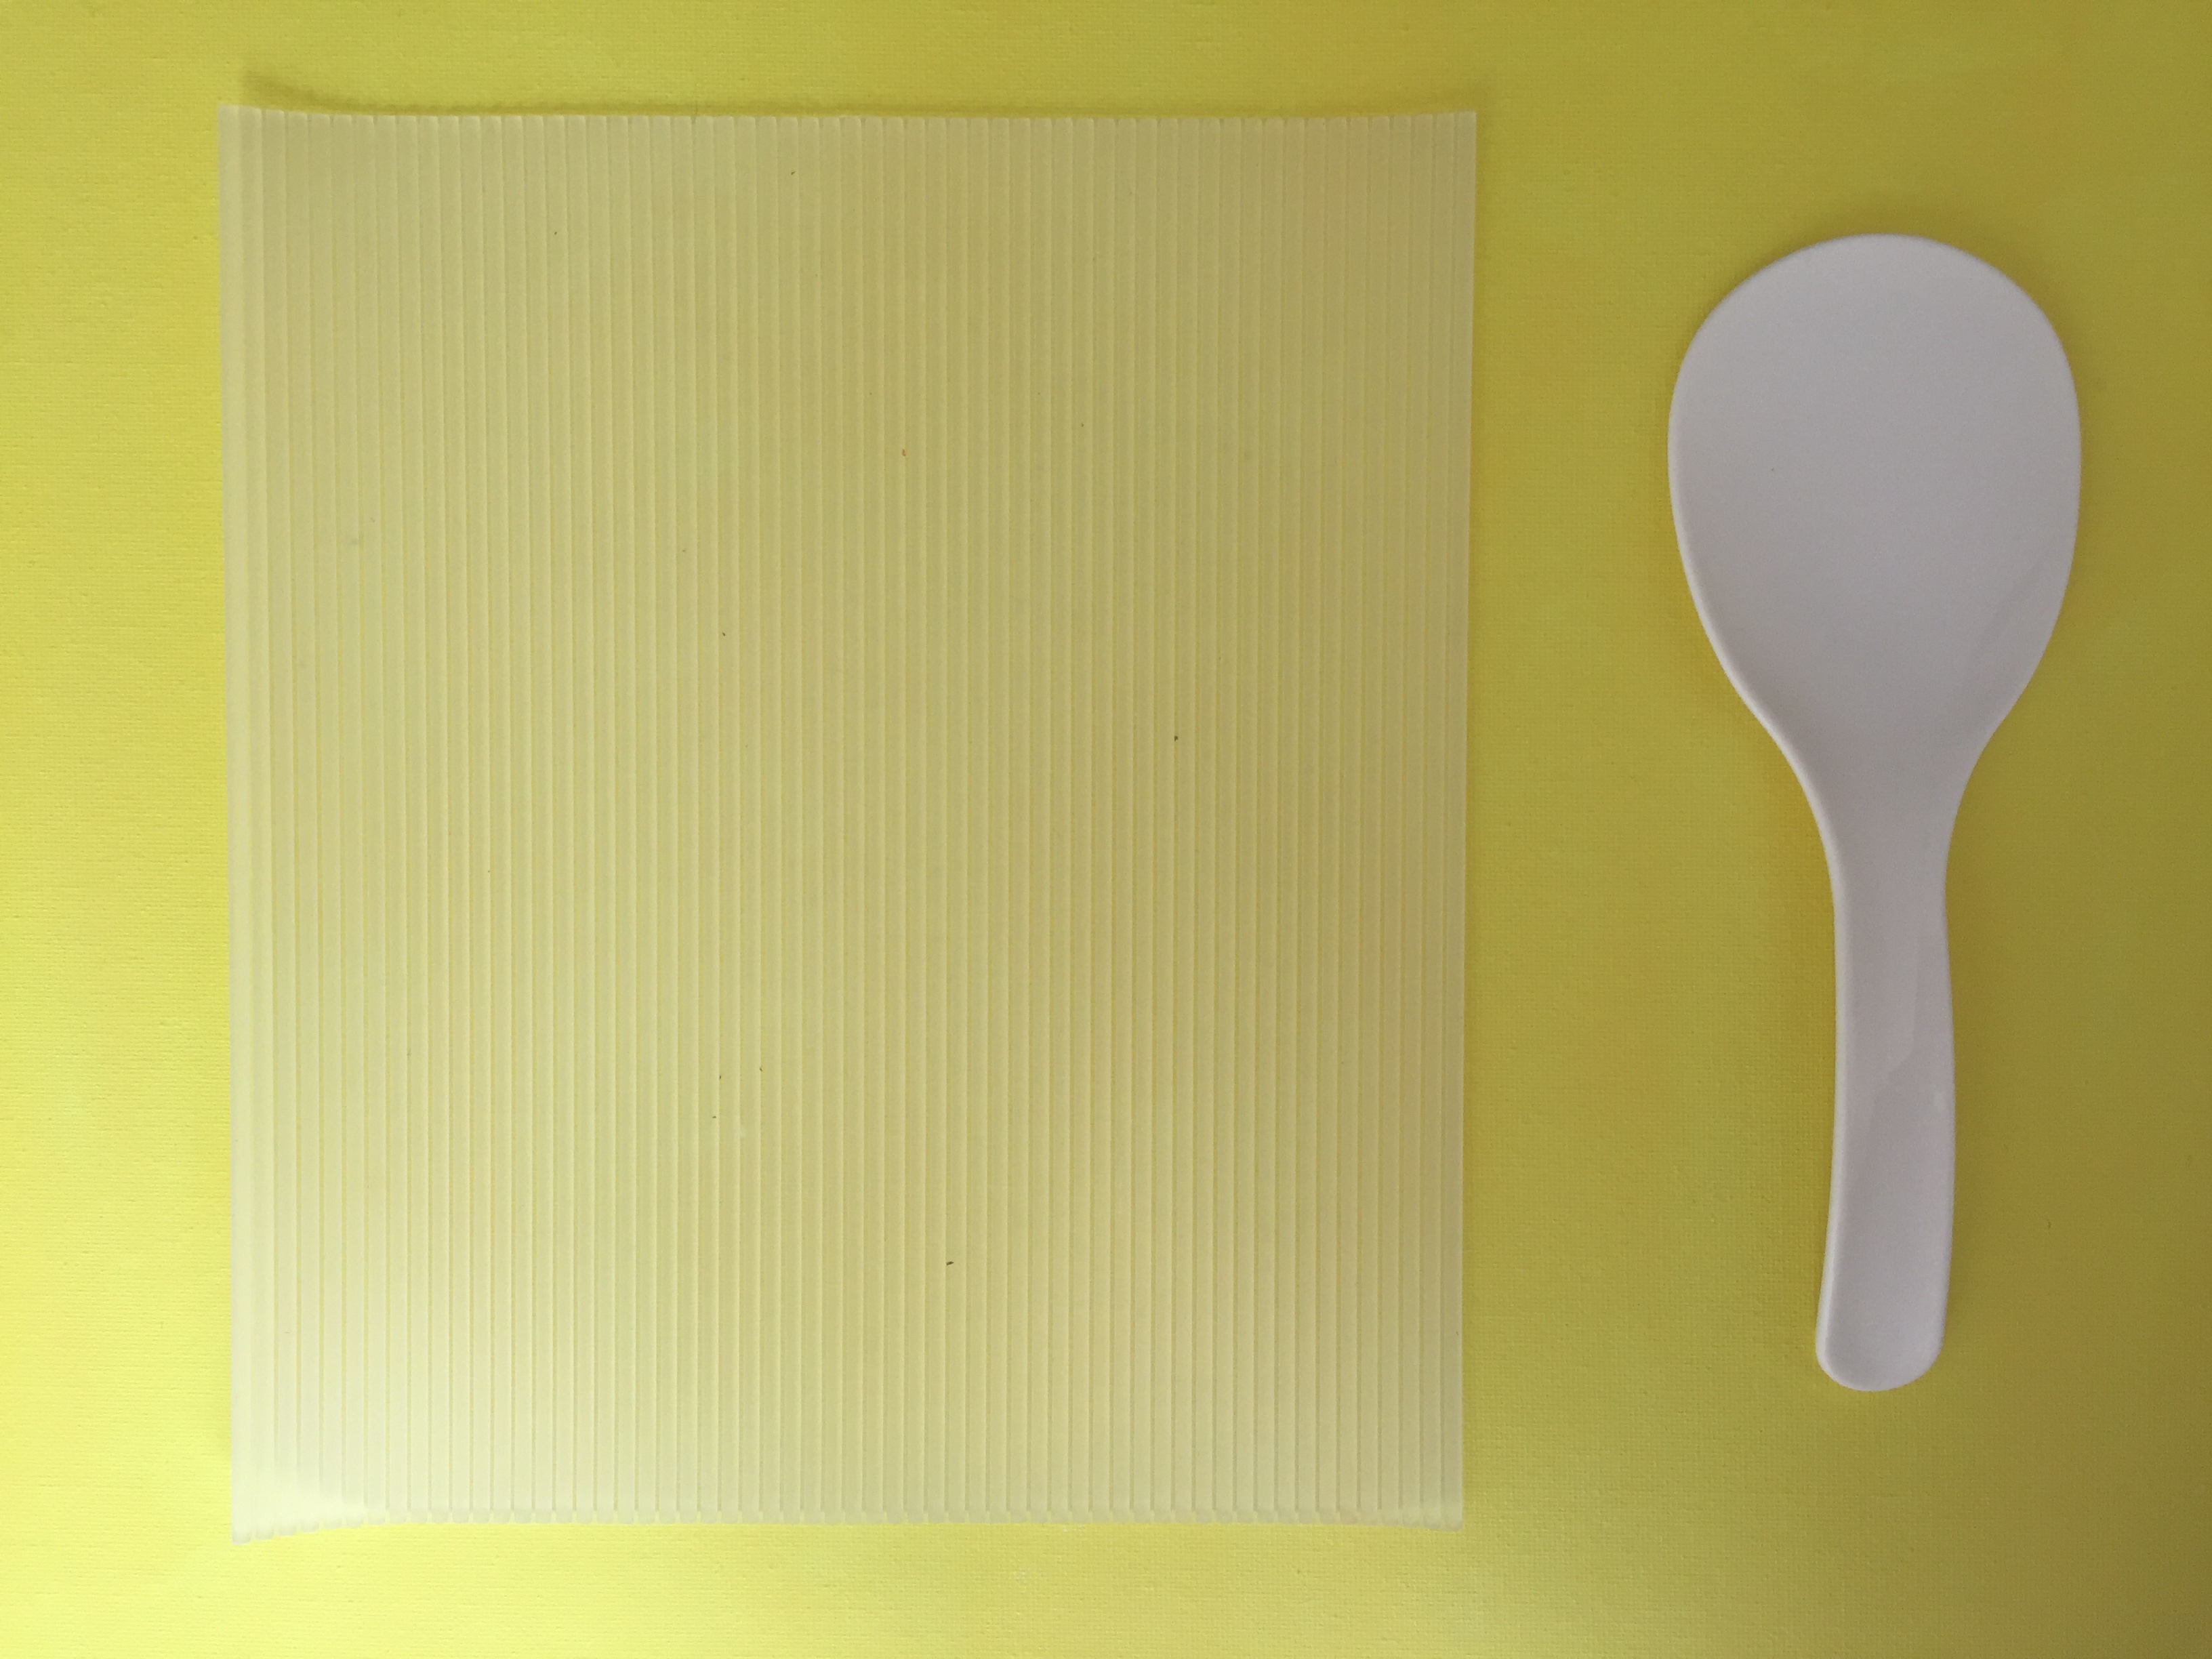
My sushi rolling mat is silicone, which I like because it’s durable and easy to wash. Bamboo sushi mats are also pretty easy to find. Check Amazon! This rice paddle came with my rice cooker. If you own a rice cooker, chances are, one of these is hidden in the back of a drawer somewhere. If not, you can use a spatula.
Ingredients:
- 1 cup sushi rice
- 1 1/4 cup water
- 1 1/2 tbsp rice vinegar
- 1 tbsp granulated sugar
- 2 tsp salt
- 1 5 oz. can of tuna
- 1 tbsp sriracha
- 1 tbsp mayonnaise
- juice of 1/2 lemon
- avocado
- cucumber
- 2-3 nori sheets

Here are some of the ingredients you might not already have in your kitchen. Make sure you’re using sushi rice. Other types of rice are not going to hold together the same way. I found mine at an Asian market, but it’s worth checking the international section at your usual grocery store. This rice vinegar is from either Kroger or Publix–I can’t remember which. Lastly, nori is just seaweed. It comes in packs of large, square sheets. This brand was found at an Asian market, but last night I found another brand at Kroger. Just look for a plastic package similar to this that is labelled as either roasted seaweed or nori. If you can’t find any of these things near you and you’re really set on making sushi at home, Amazon is your friend. Look up those ingredients, sit back, and wait for them to be delivered to your house!
Let’s do this.
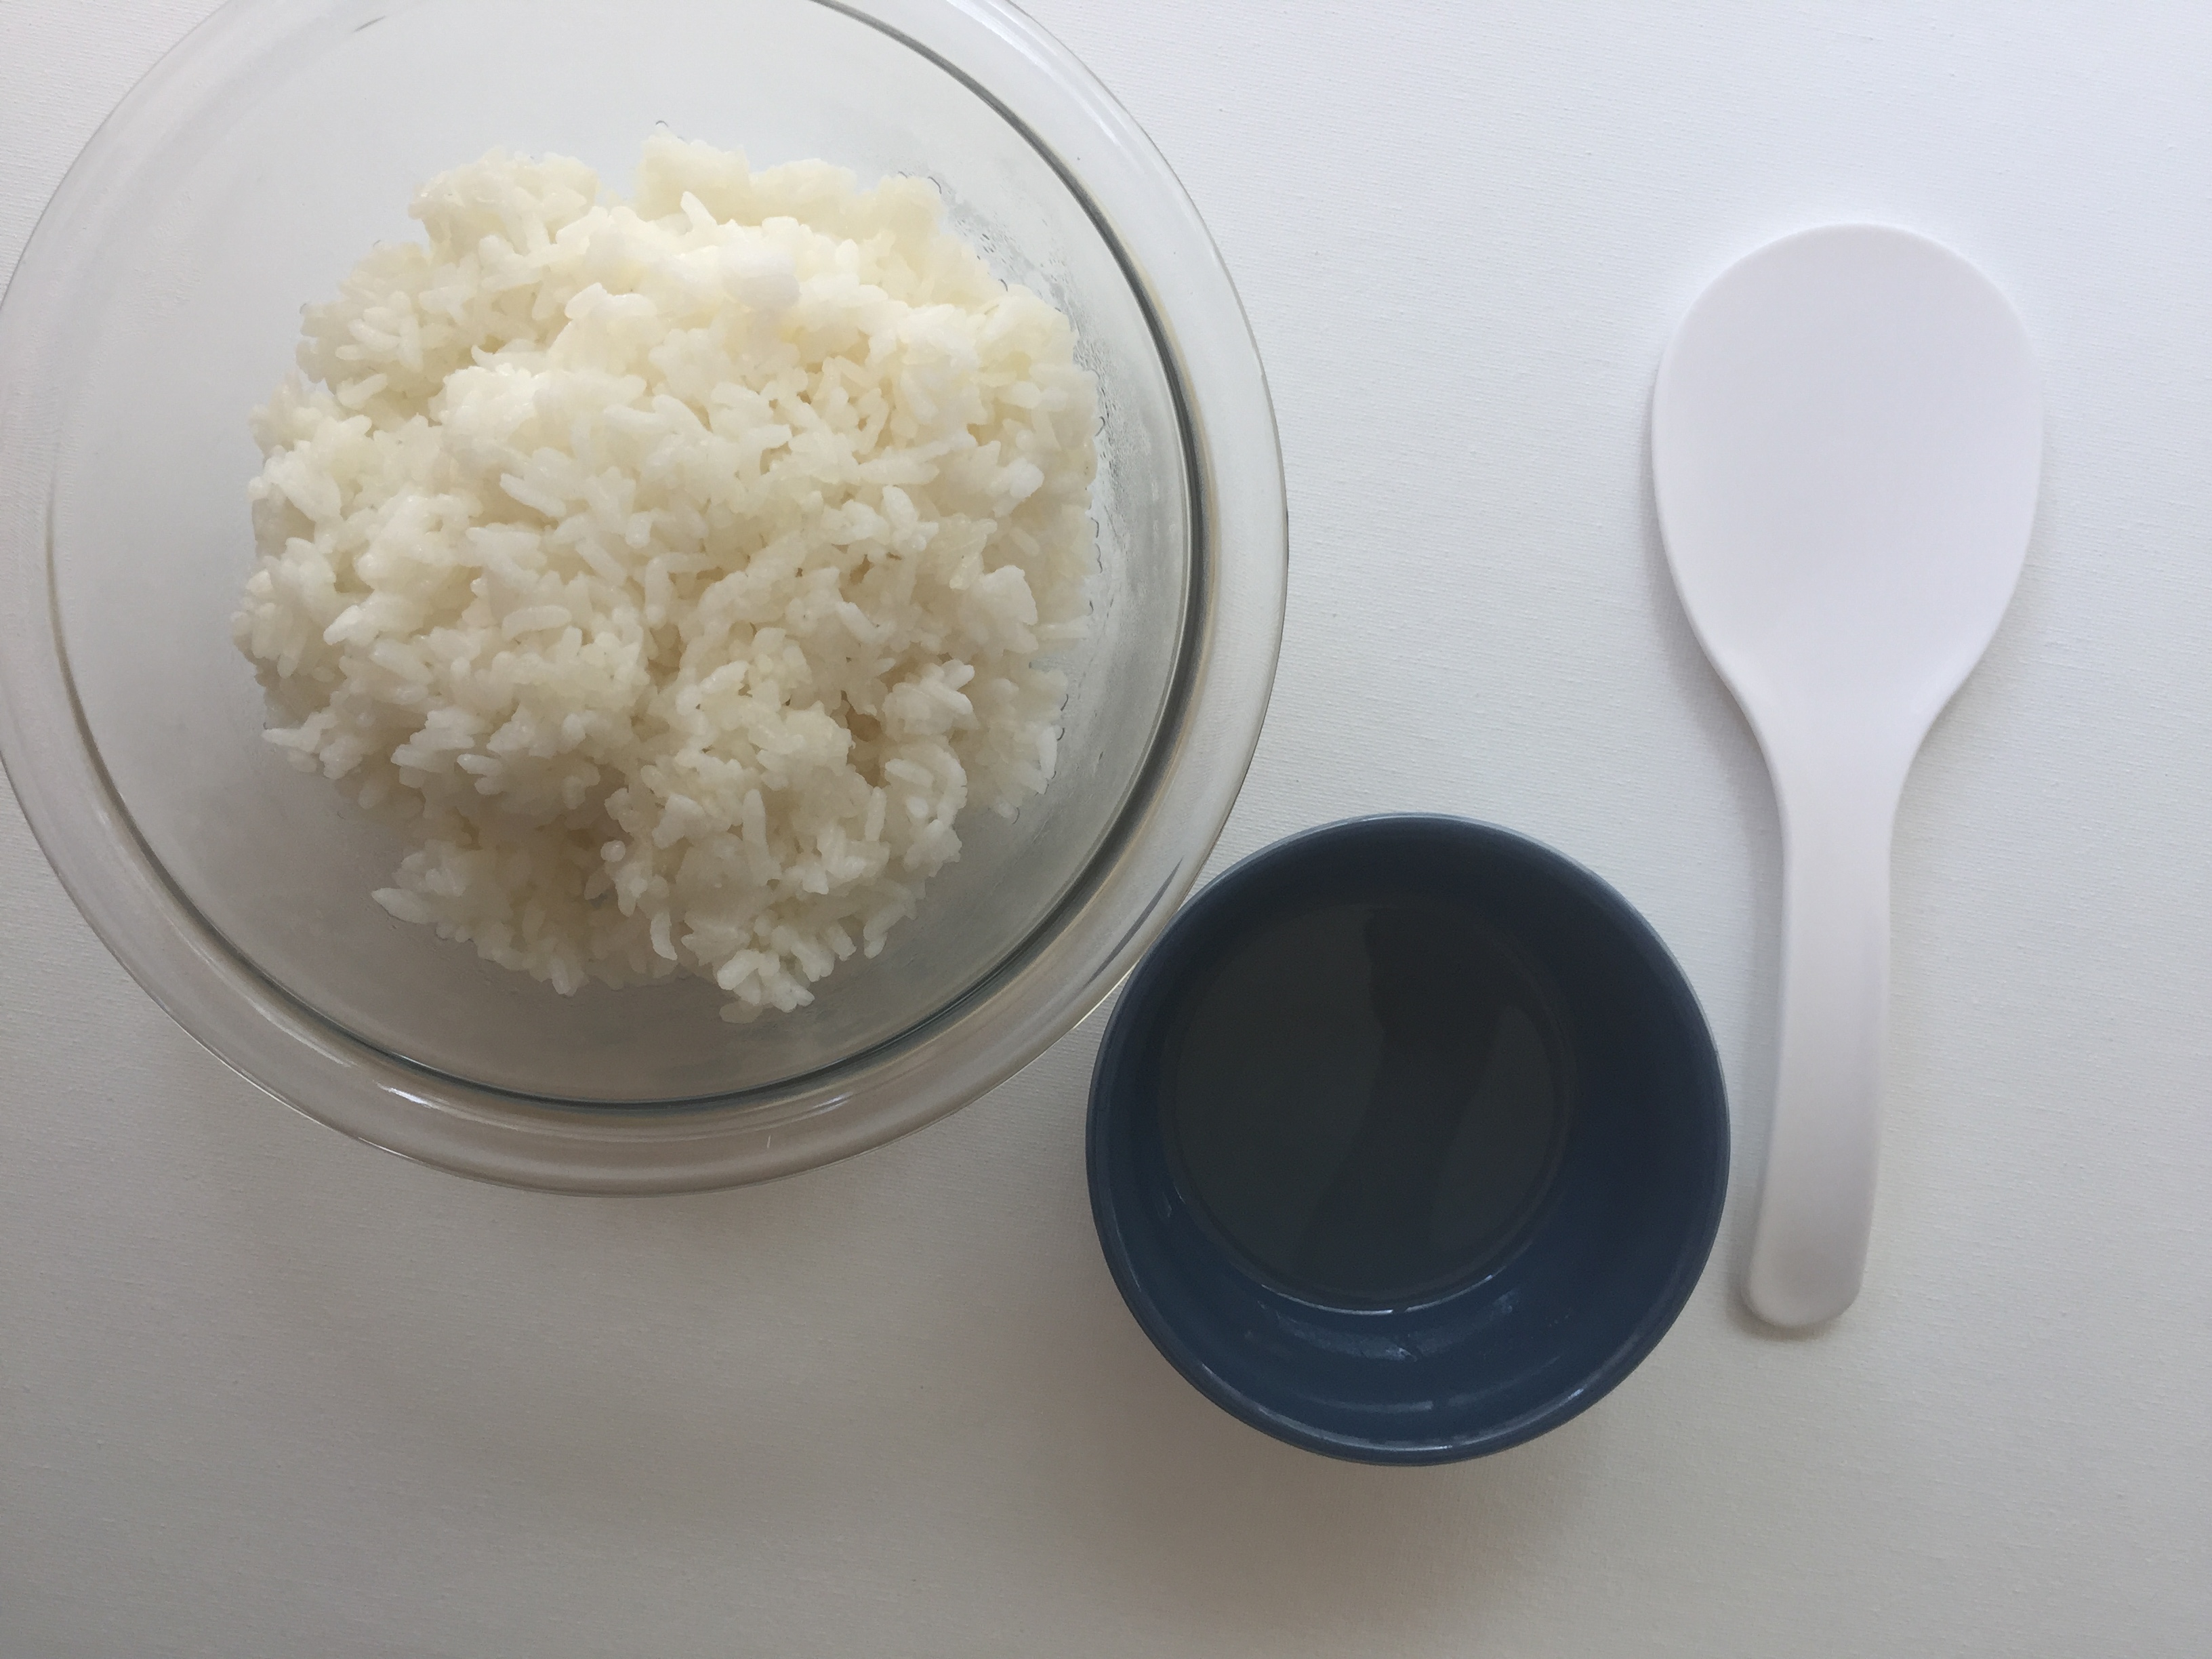
- To prepare the sushi rice, first rinse your rice thoroughly. Add the rice and water to a pot, and bring to a boil. Cover and reduce heat to low. Cook for 2o minutes. Remove from heat and keep covered for 1o minutes.
- Heat your rice vinegar in a small microwaveable bowl for 15 to 20 seconds. Stir in sugar and salt, and allow to dissolve.
- Move your rice to a bowl, and gently fold in the seasoned rice vinegar with your rice paddle or spatula. The goal here is not to smash your rice or make it mushy. Yuck.
4. Cover your rice and allow to chill in the refrigerator for 3 to 4 hours.
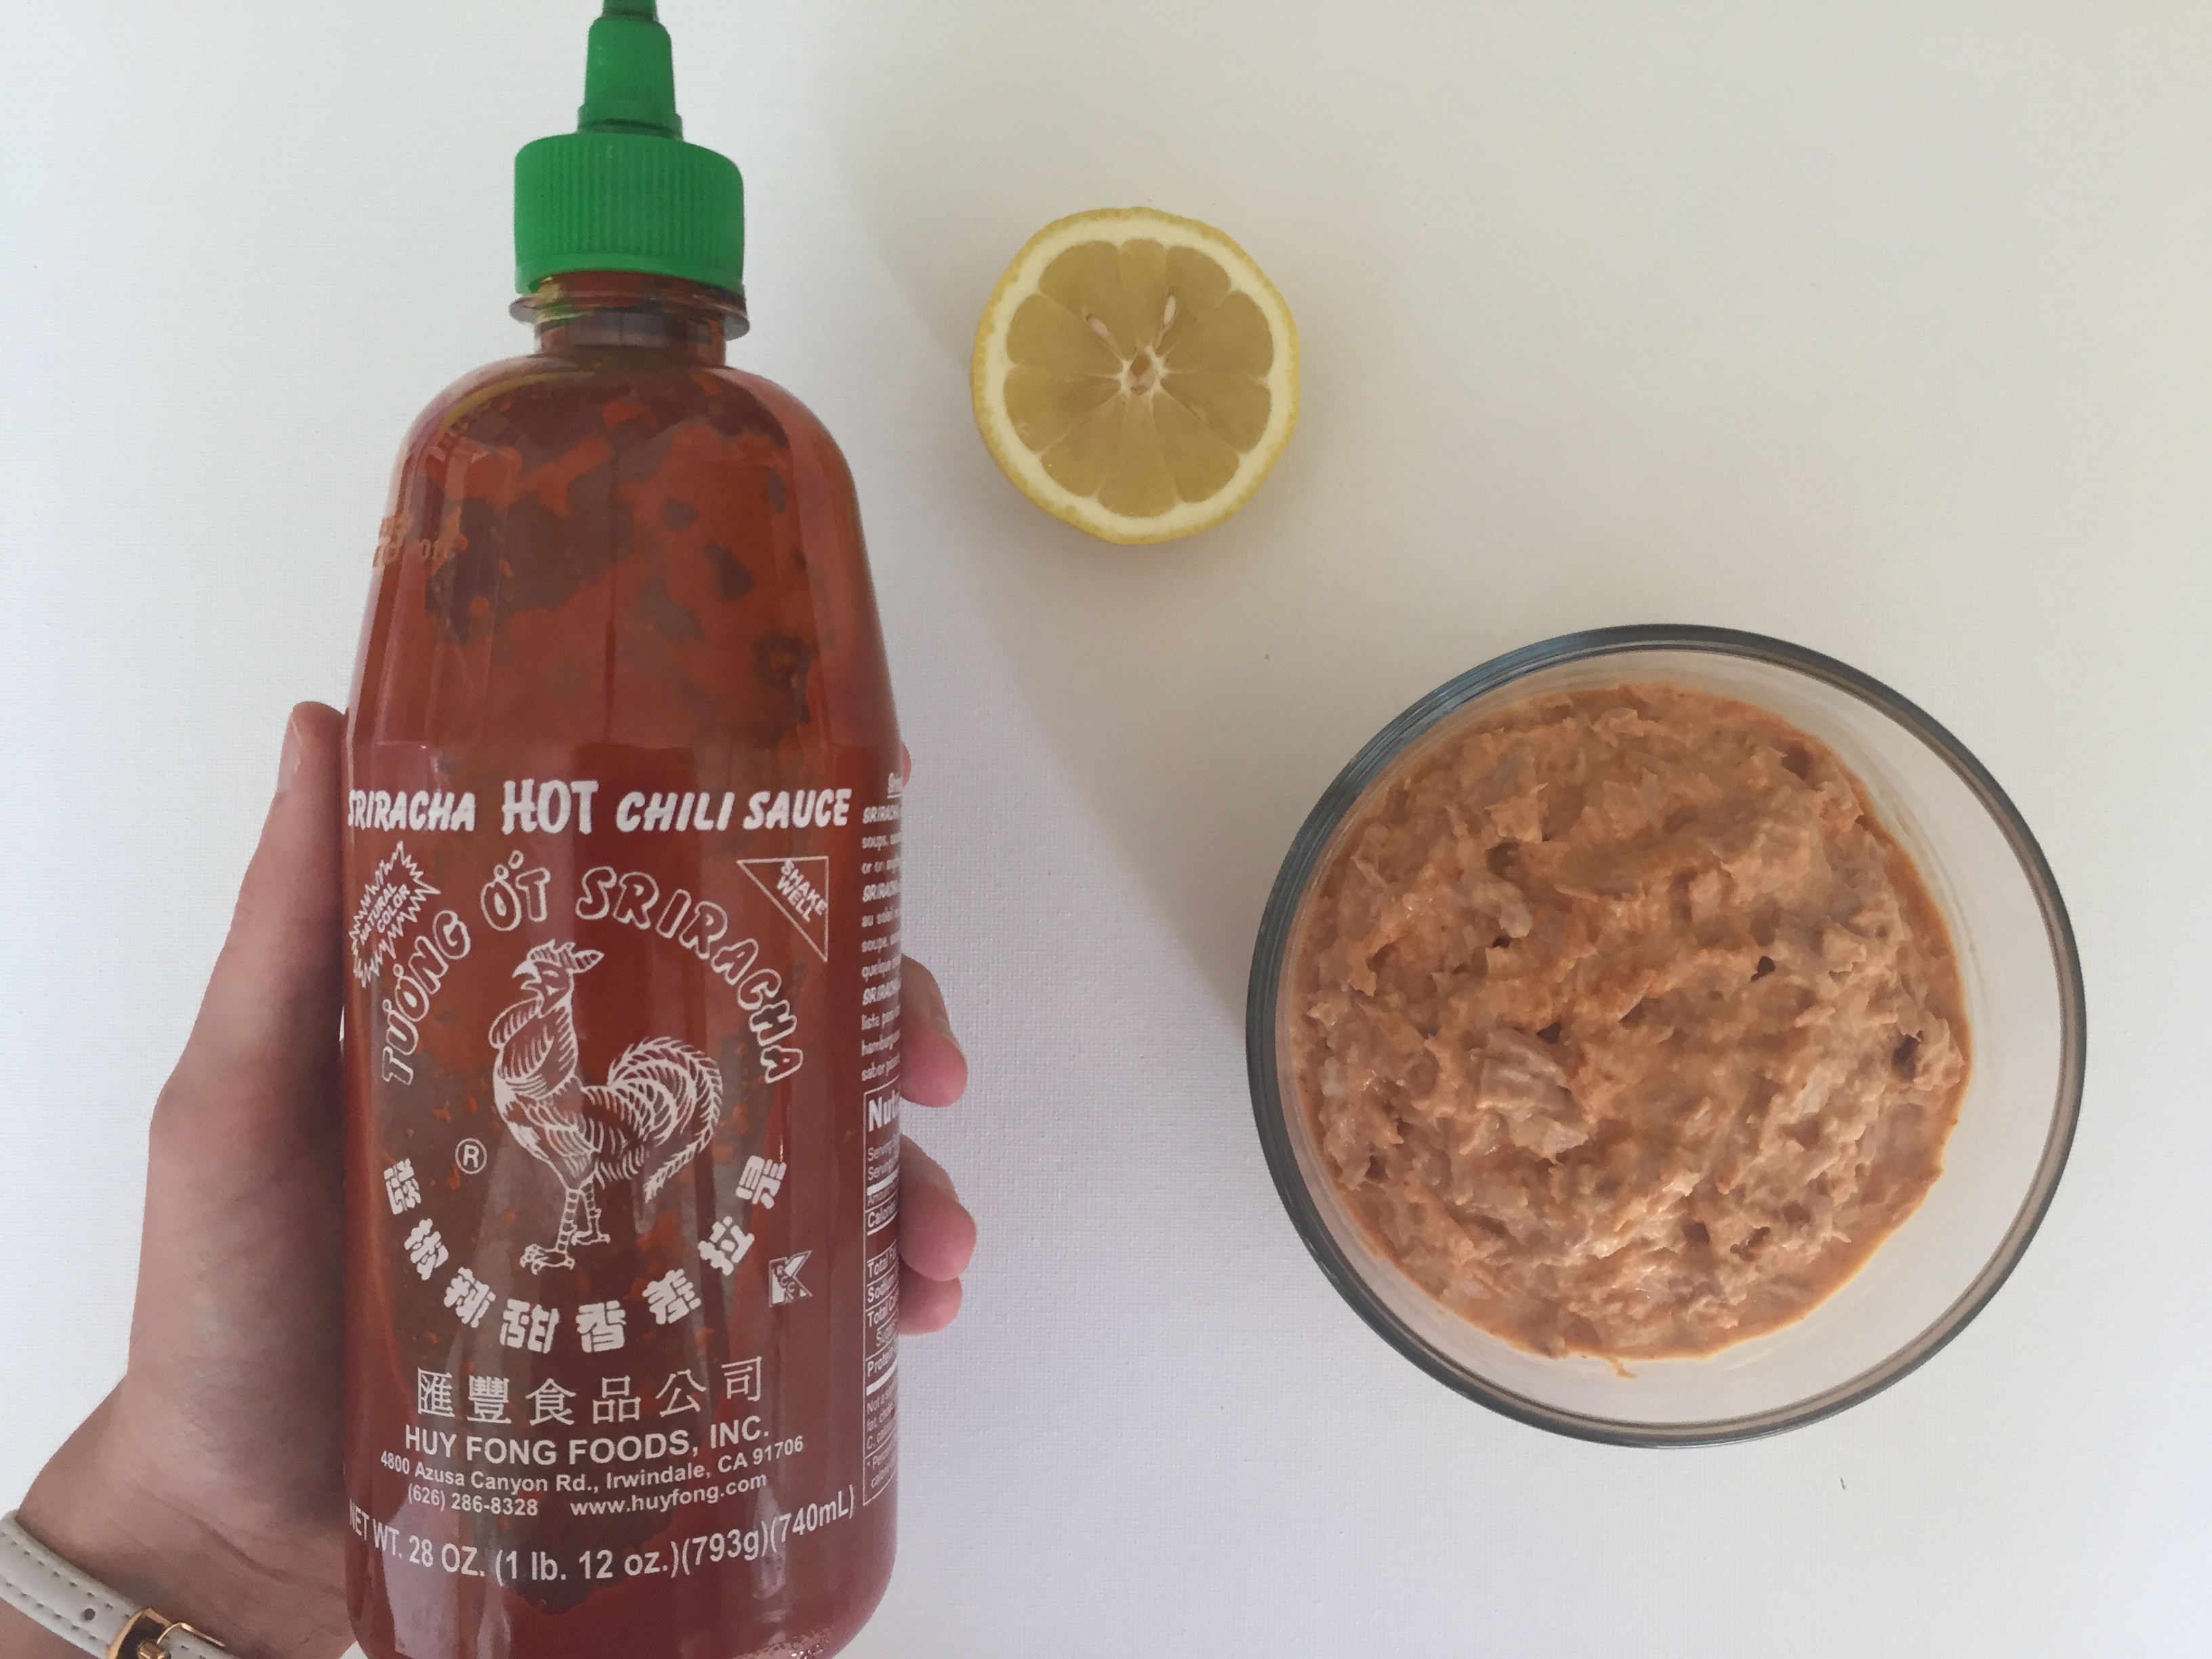
5. To make this as simple and fail-proof as possible, we’re not using raw fish here. I’m using canned tuna this time, but other great options are cooked shrimp, smoked salmon, and imitation crab. For this recipe, we’re essentially going to make a spicy tuna salad. Drain your can of tuna, and in a small bowl, combine the tuna, lemon juice, sriracha (pictured below), and mayo.
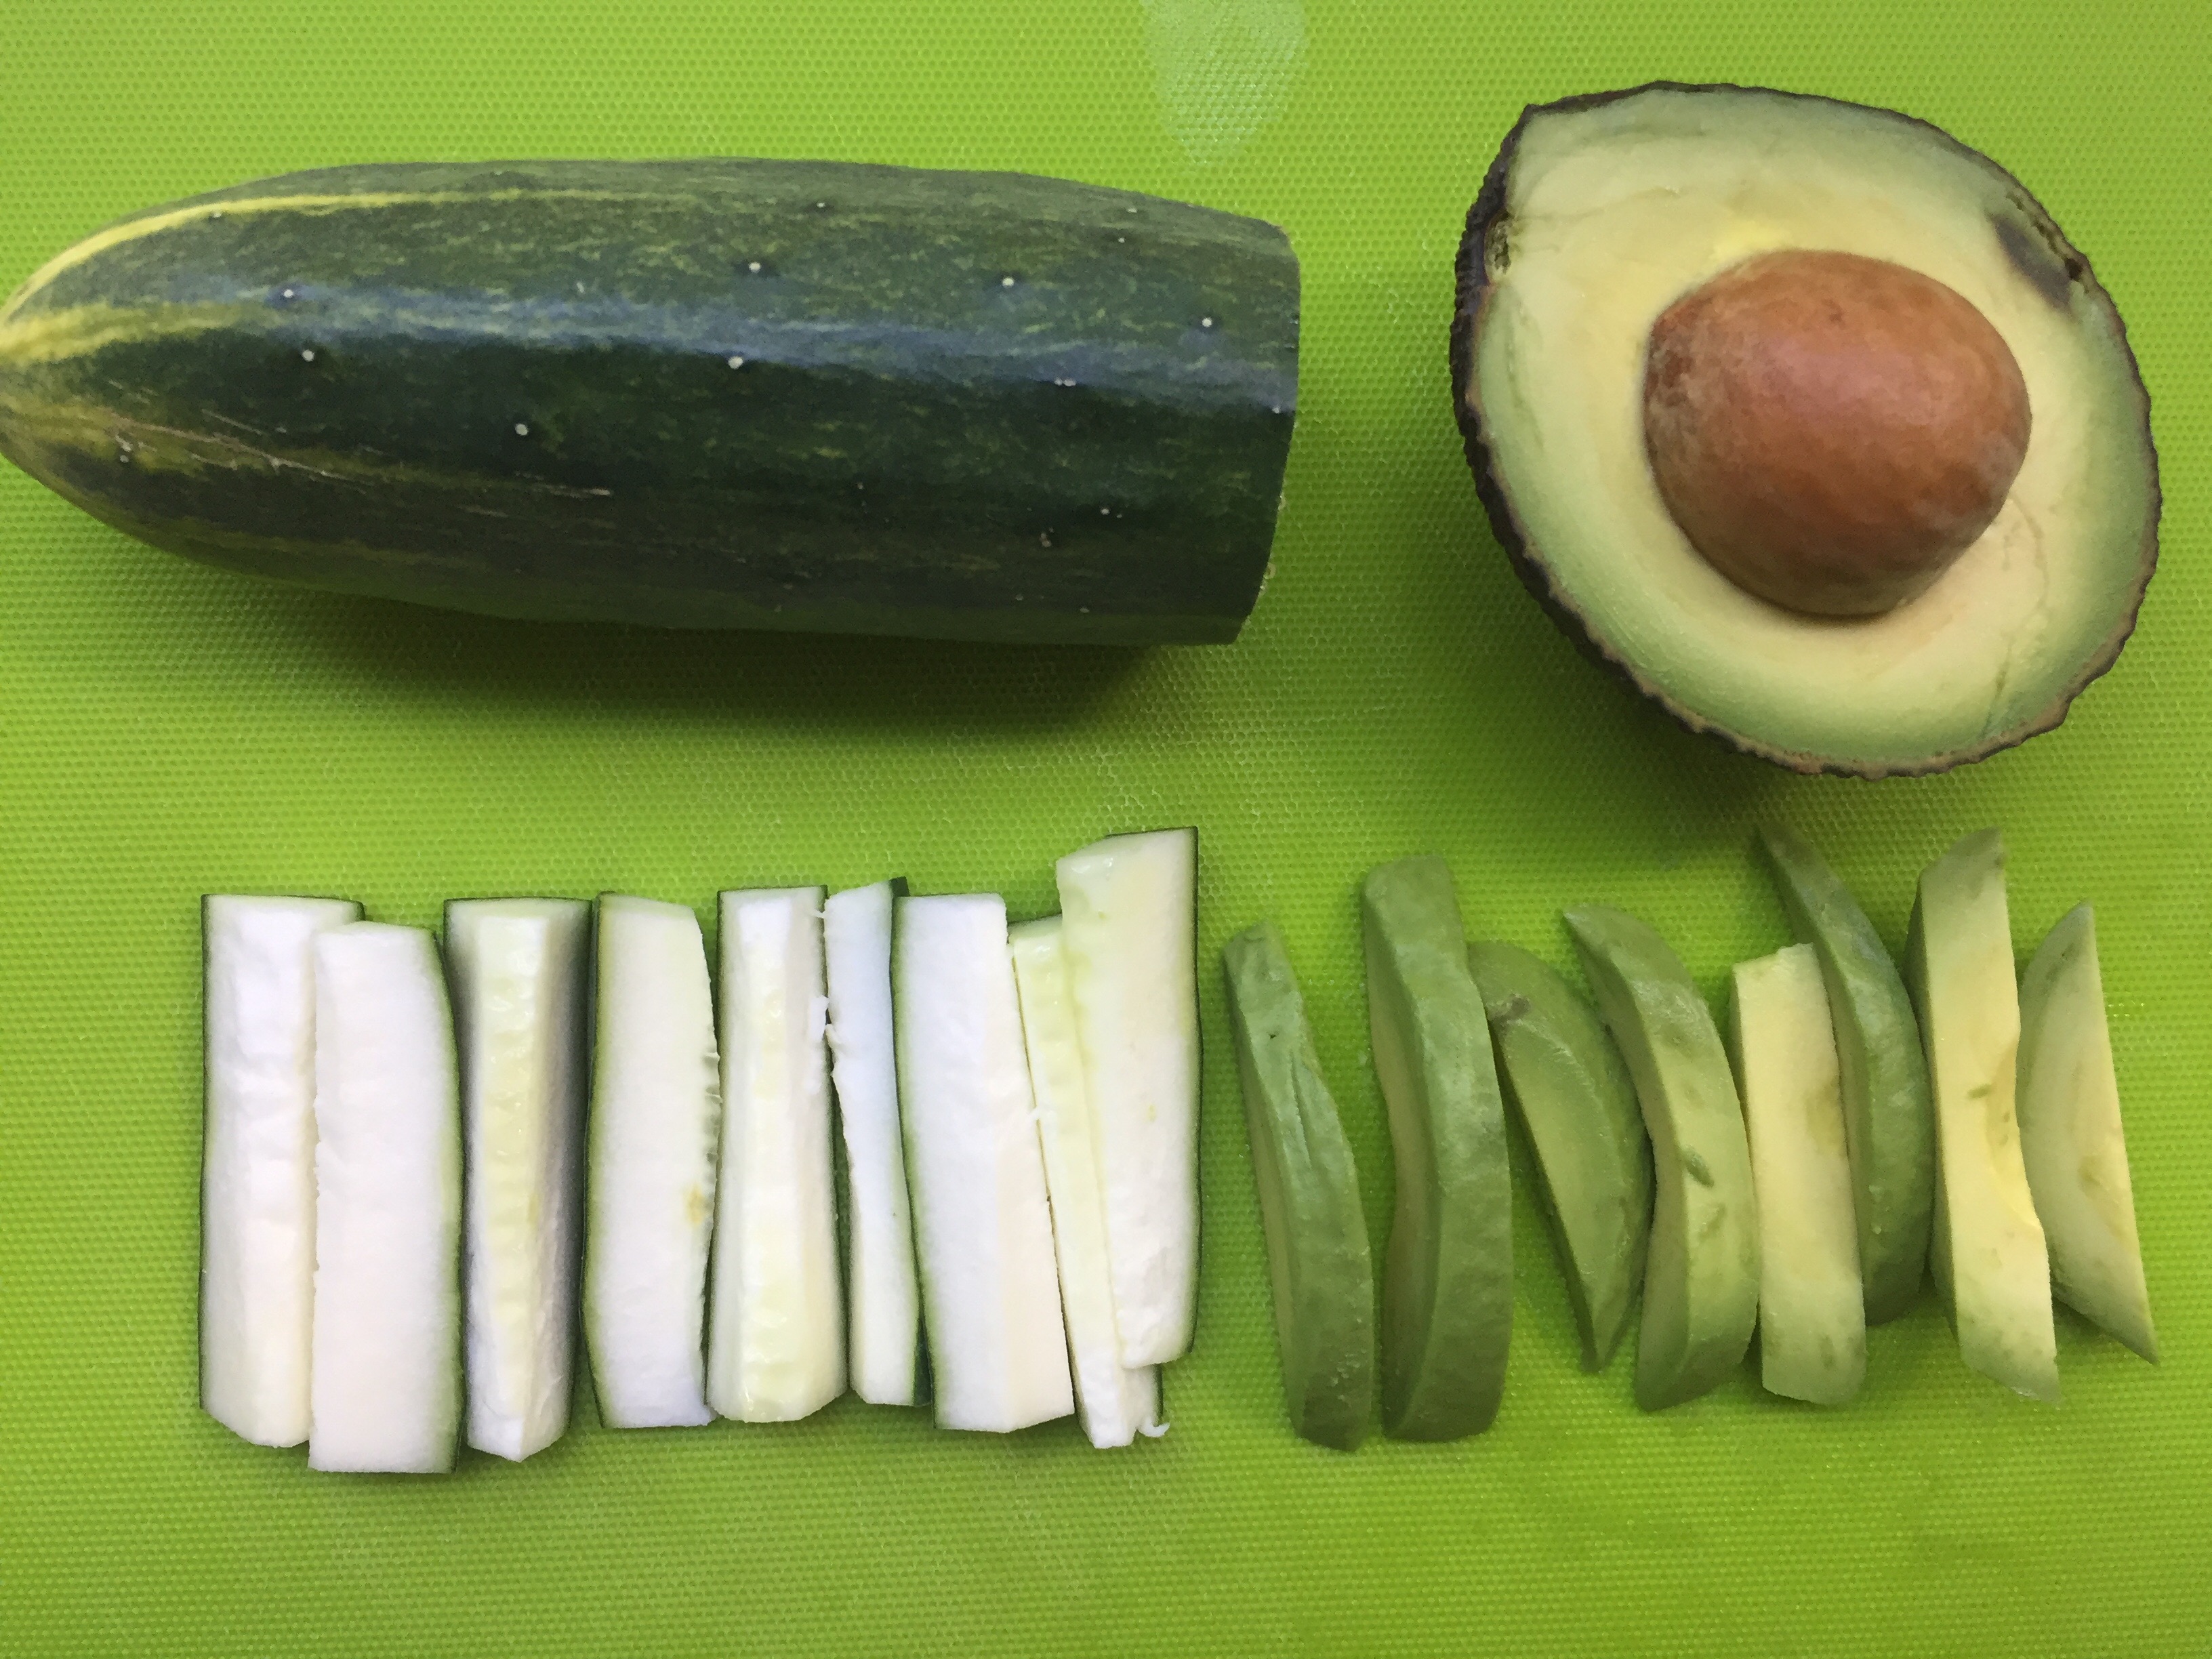
6. Now let’s slice those veggies. You’ll need some long, thin strips of avocado and cucumber. Remove the seeds from the cucumber so they won’t give your sushi a strange texture. Carrots and cream cheese would be other easy options for filling your sushi.
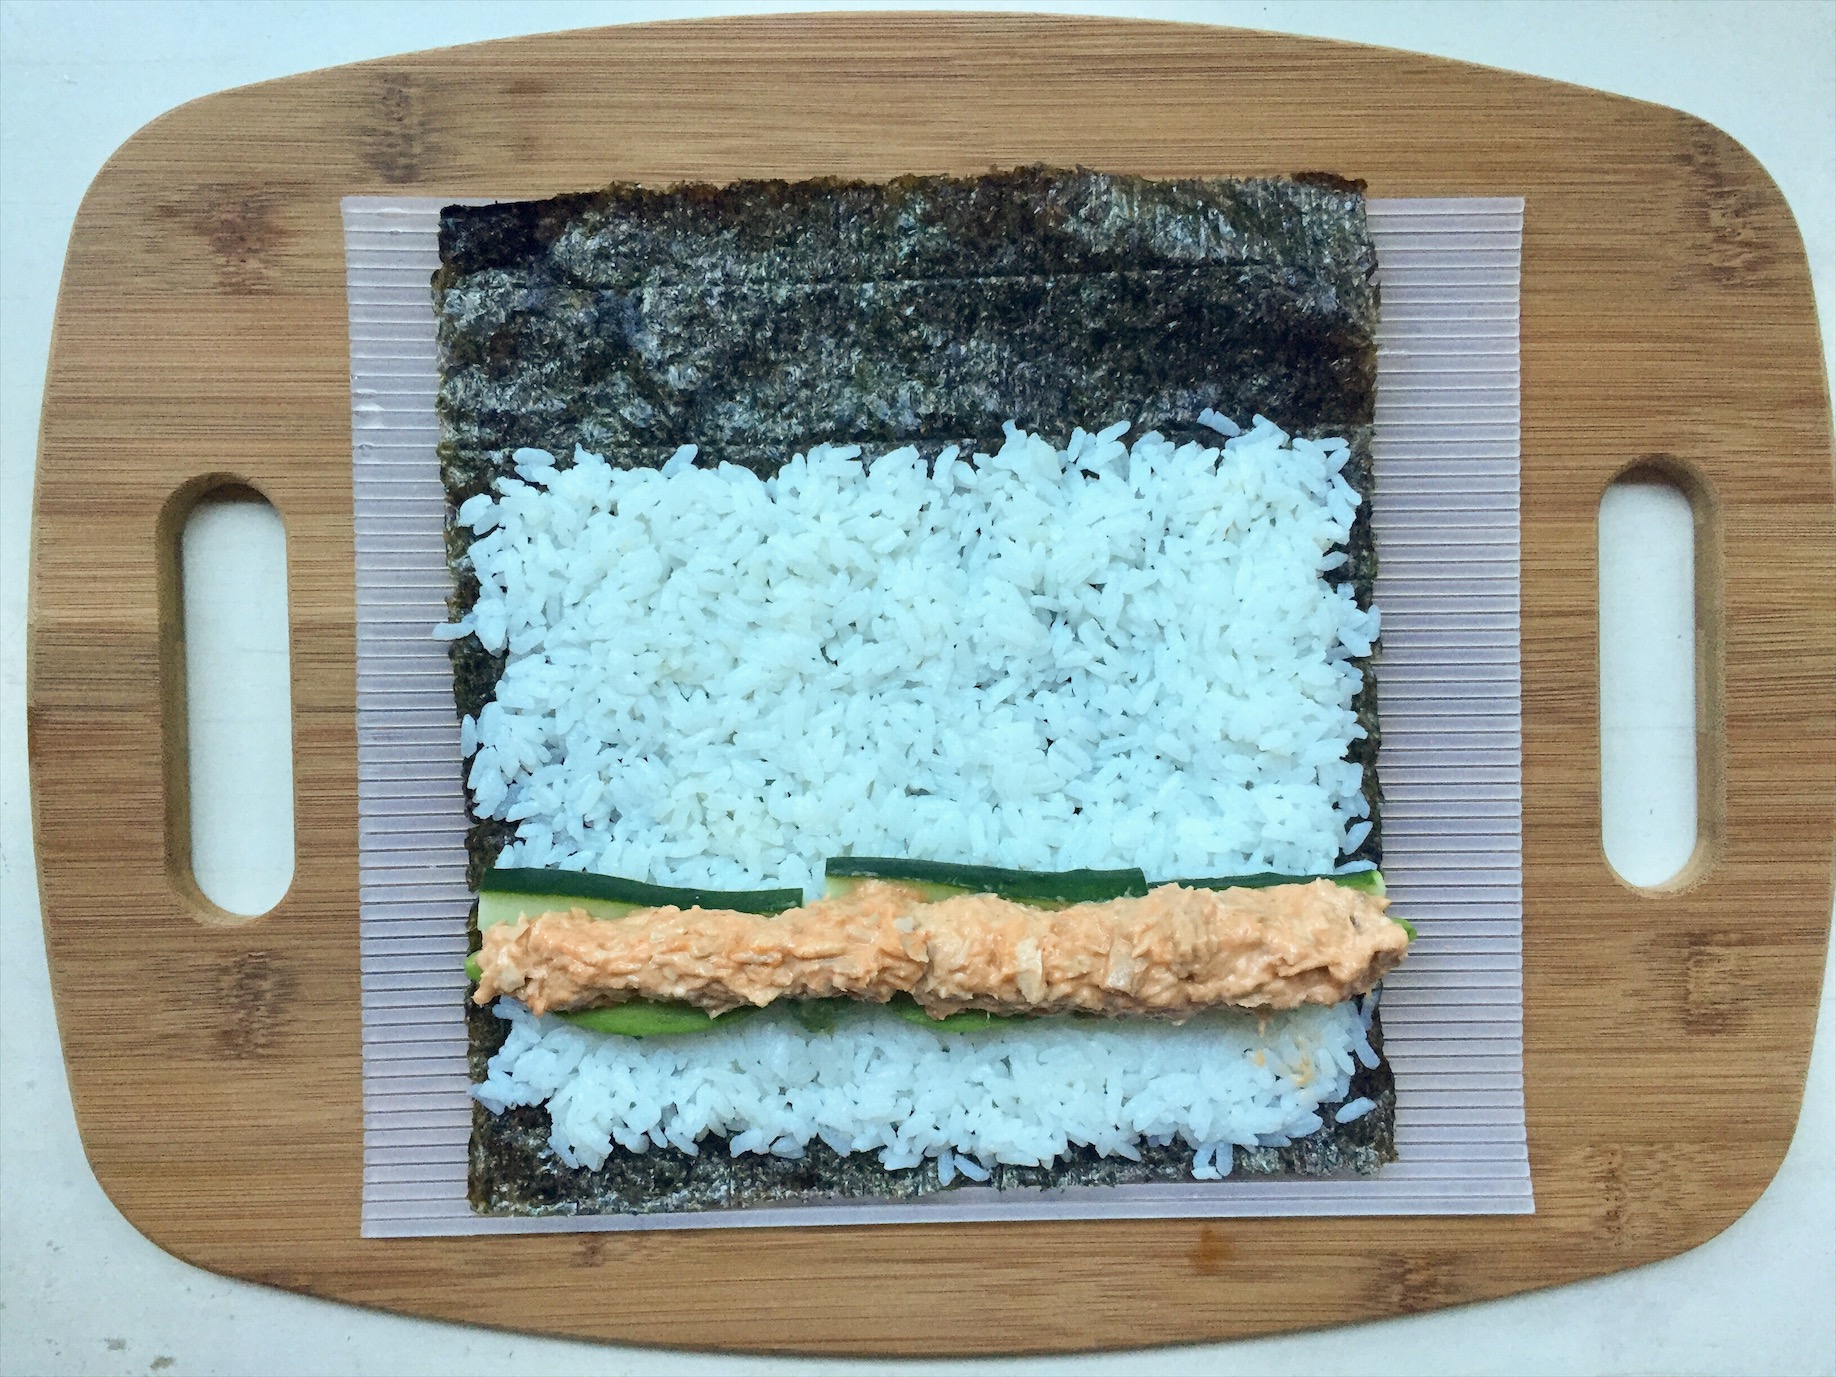
7. Once the rice has chilled, the tuna has been prepared, and the veggies have been cut, it’s time to get rolling! Grab your sushi mat, and lay a sheet of nori on top. Check your nori to see if there’s a rougher side and a shinier side. Lay it rough side UP so the shiny side will end up on the OUTSIDE of your sushi roll.
8. Fill a bowl with water and wet your fingers. Begin pressing a thin layer of rice onto the lower two-thirds of your sheet of nori. It’s very important to wet your fingers before each time you touch the rice. Otherwise, you’ll just end up with rice all over your hands.
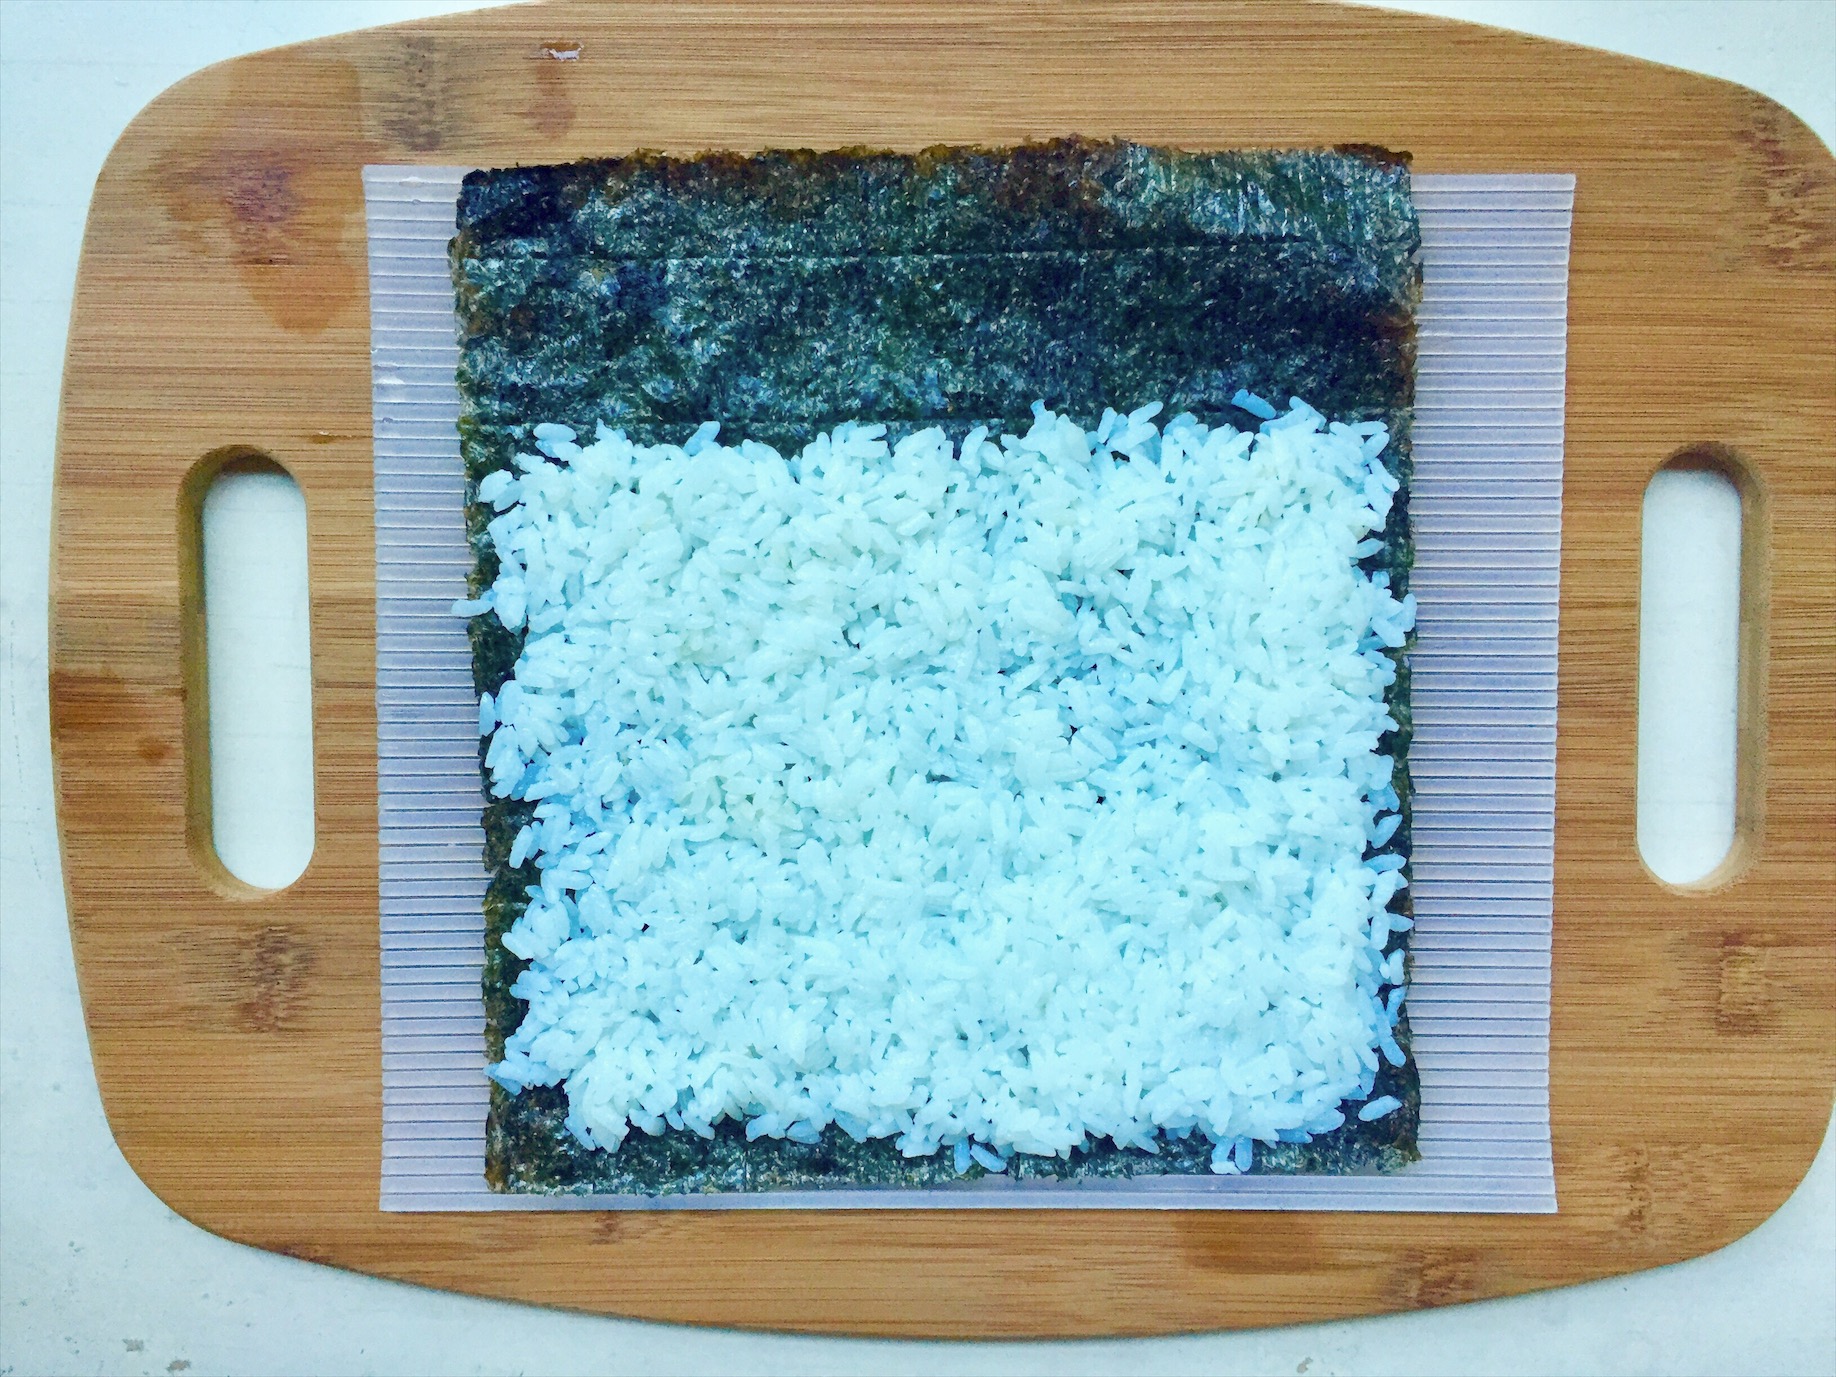
(Take a moment to note that the sushi mat has the ridges running horizontally so I can roll it away from myself when that time comes. Also, check out how if you look closely, you can see some roughness on the side of the nori that’s facing up.)
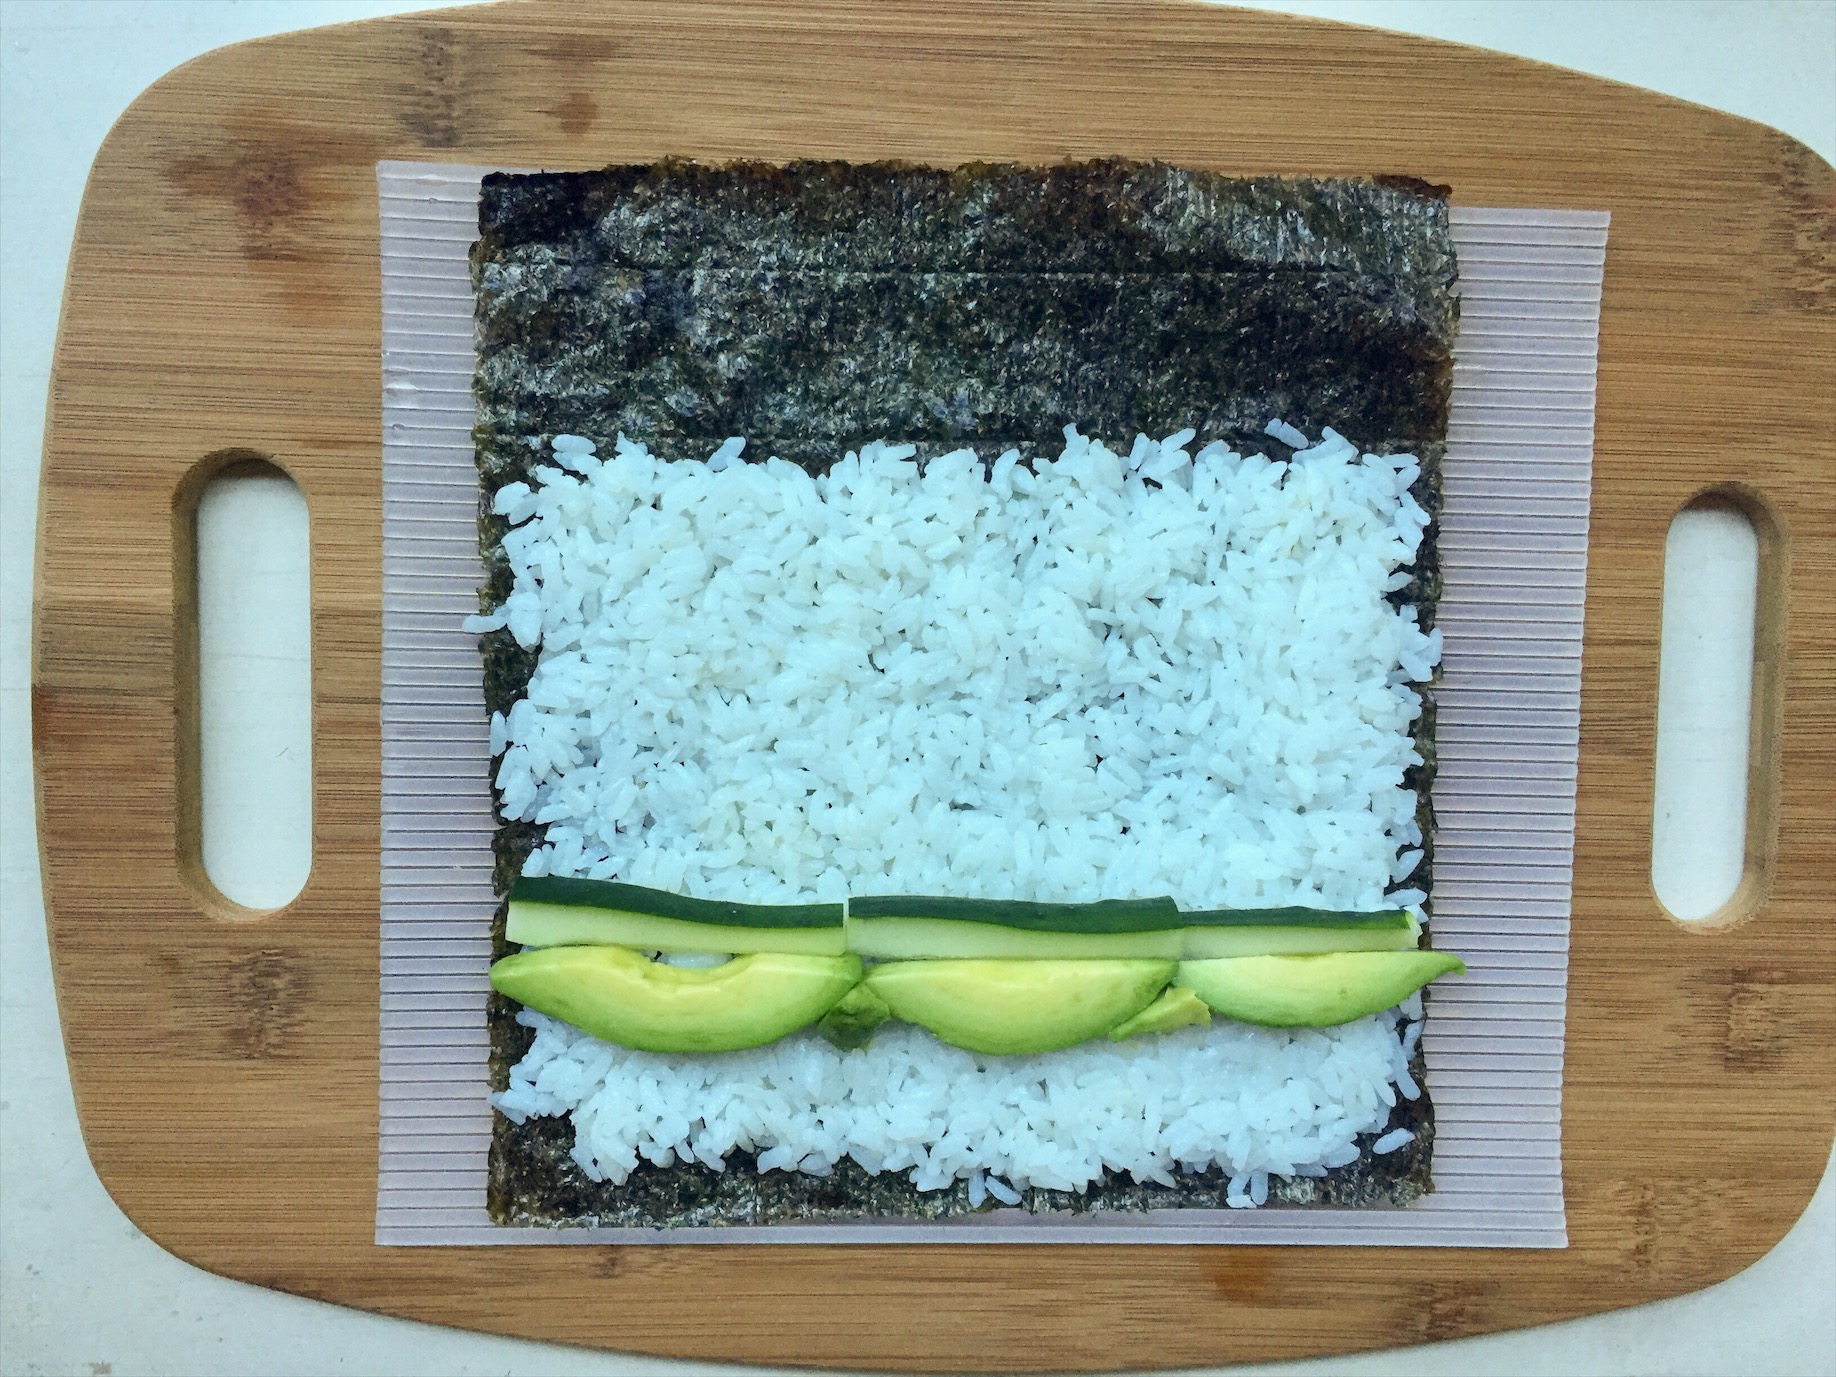
9. Now we’re going to start filling your sushi roll. I started with my cucumber strips, lining them up about one-third of the way into my rice. Then I made a line of avocado slices under the cucumbers. You can fill in the gaps where the avocado curves with smaller pieces. The straighter and more even your lines, the more consistent each piece of sushi will be.
10. On top of the veggies, add some of your tuna mixture. Don’t be shy! Add about this much:
11. Now we’re going to roll it up! Key words for rolling: firm, quick, committed. Grab the side of the mat closest to you. You’re going to roll this away from your body. For the first rolling motion, you want to end up with the edge of the nori closest to you rolled around the filling and touching the rice on the other side. Ready? Roll it, be firm and quick, commit to it, and give it a good squeeze to hold it together. Don’t even give that roll a chance to fall apart! You’re running this show!
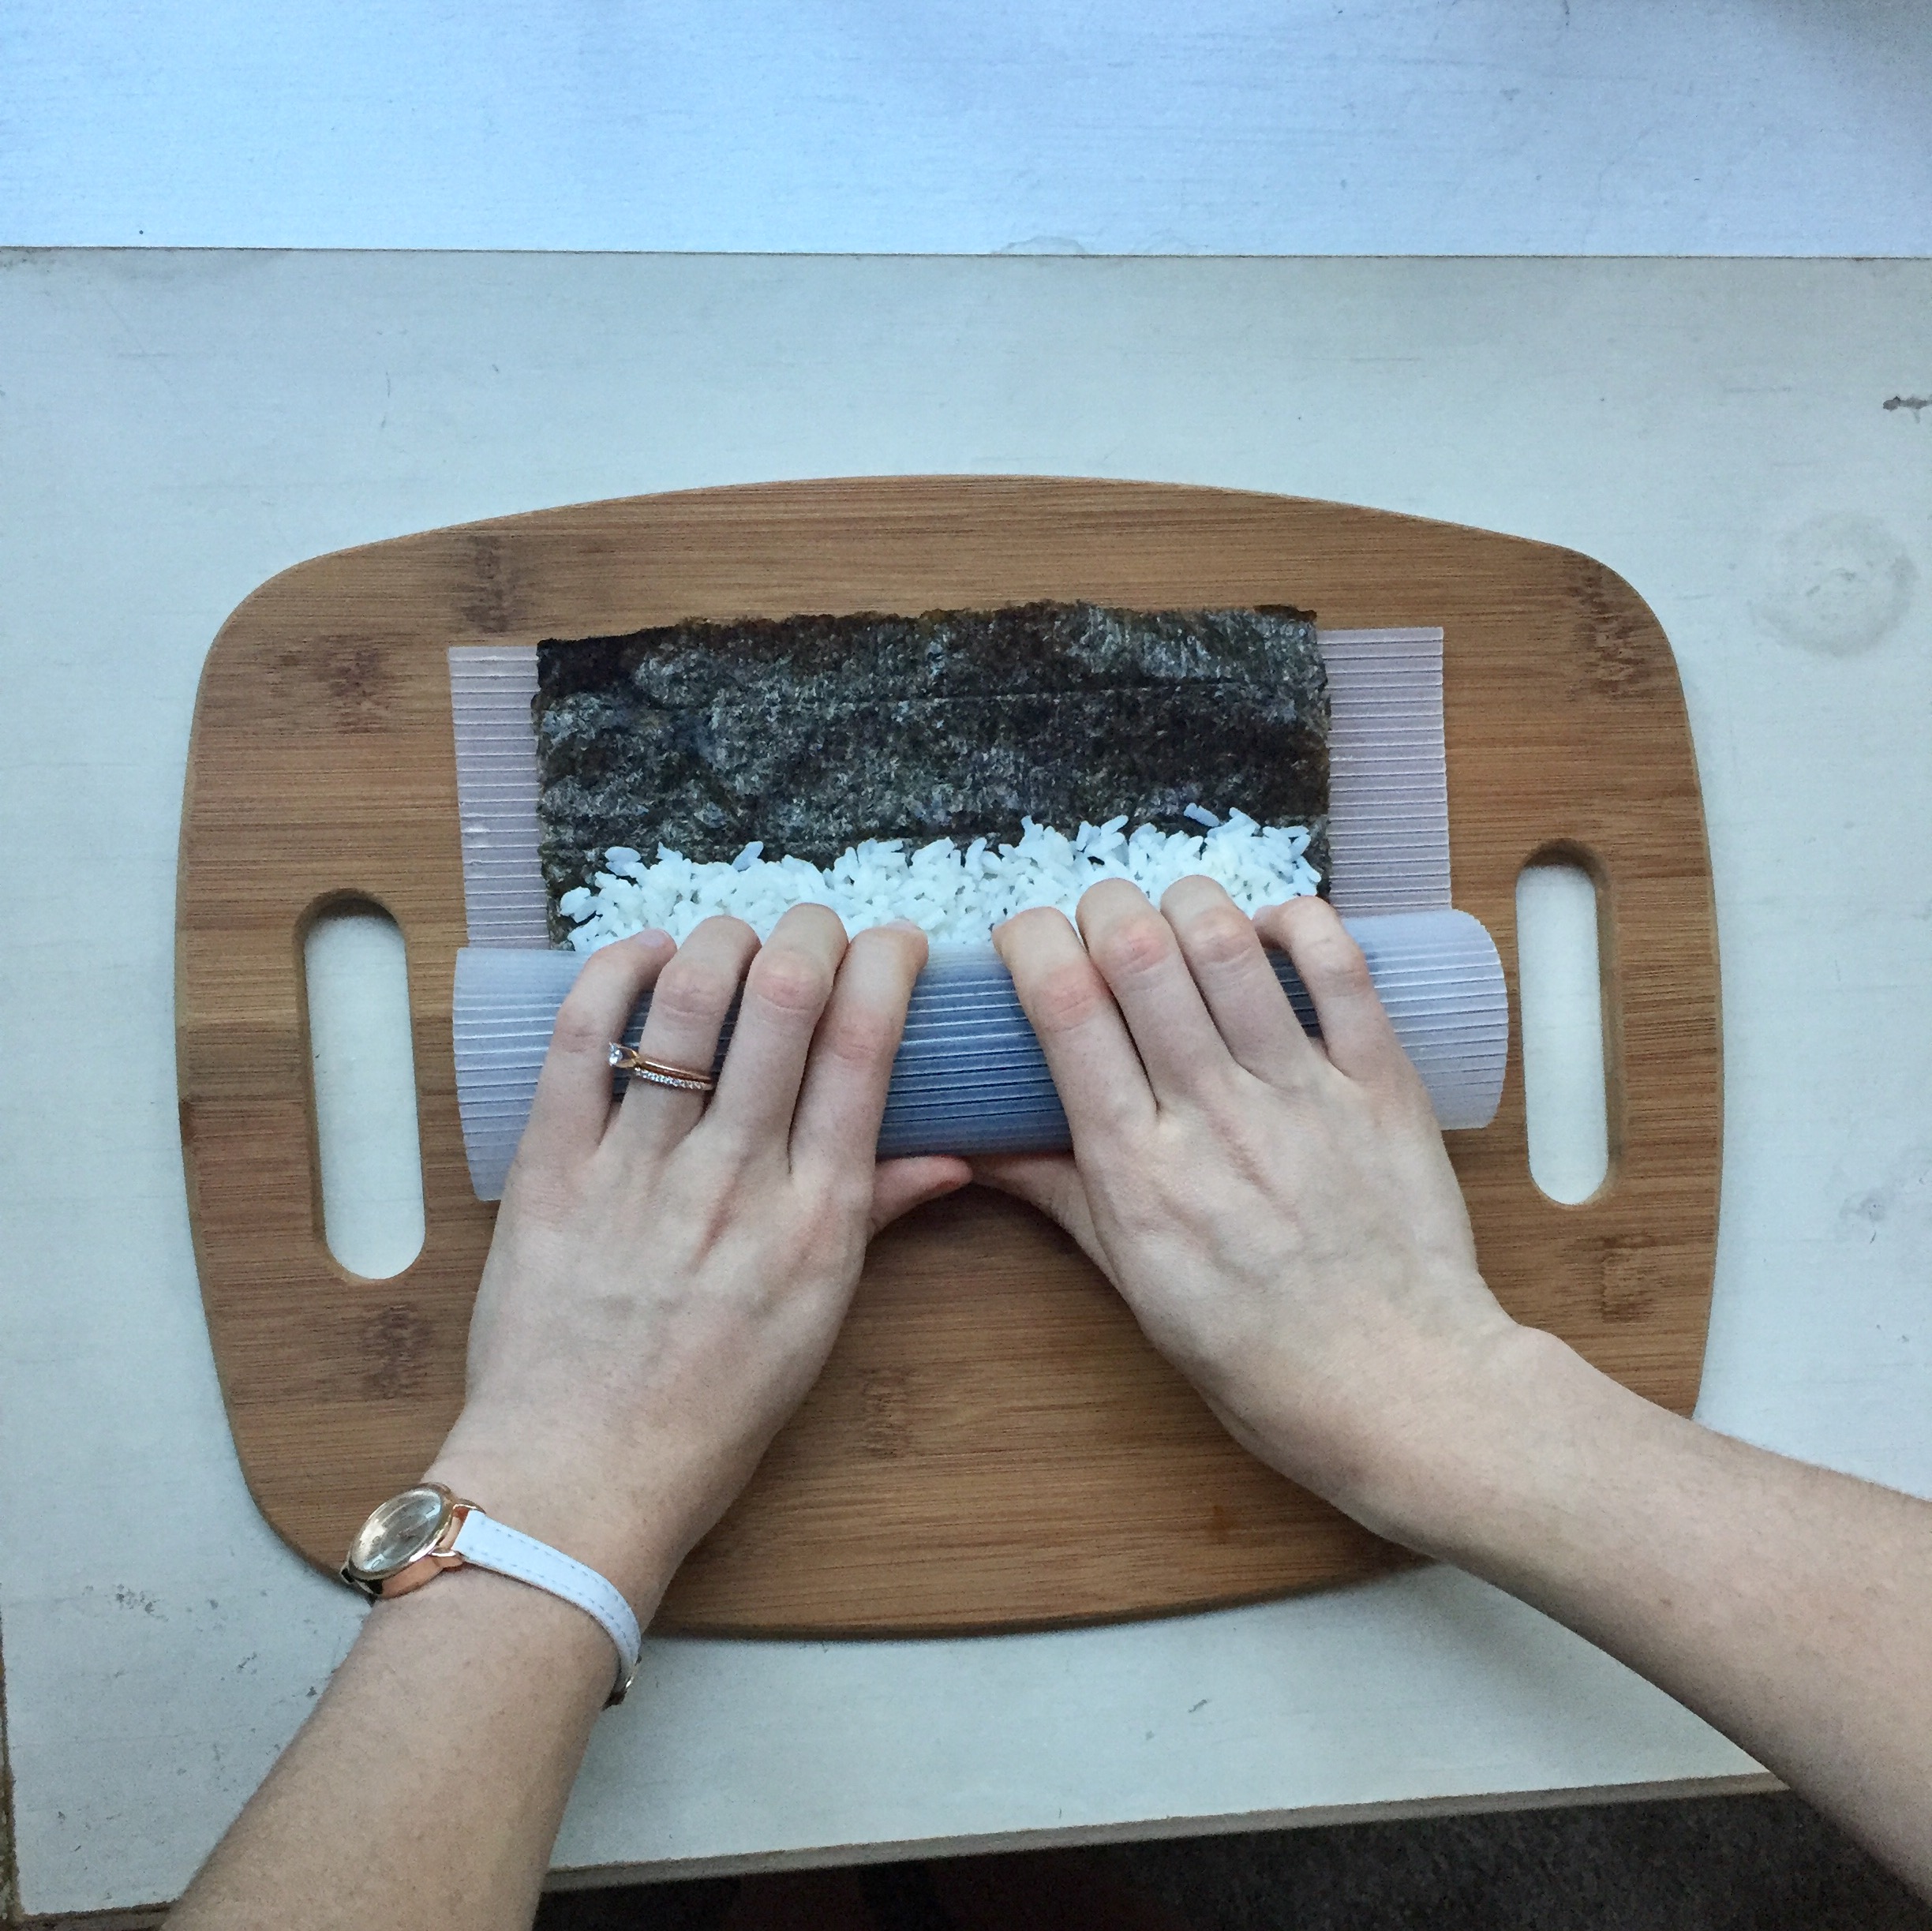
12. Keep rolling and squeezing until all of the space covered by rice is rolled up. Then wet your fingers and brush the remaining uncovered nori with water. Finish rolling and give it one more good squeeze. You should have a firm, compact roll, hopefully with some of your filling still on the inside. 😉
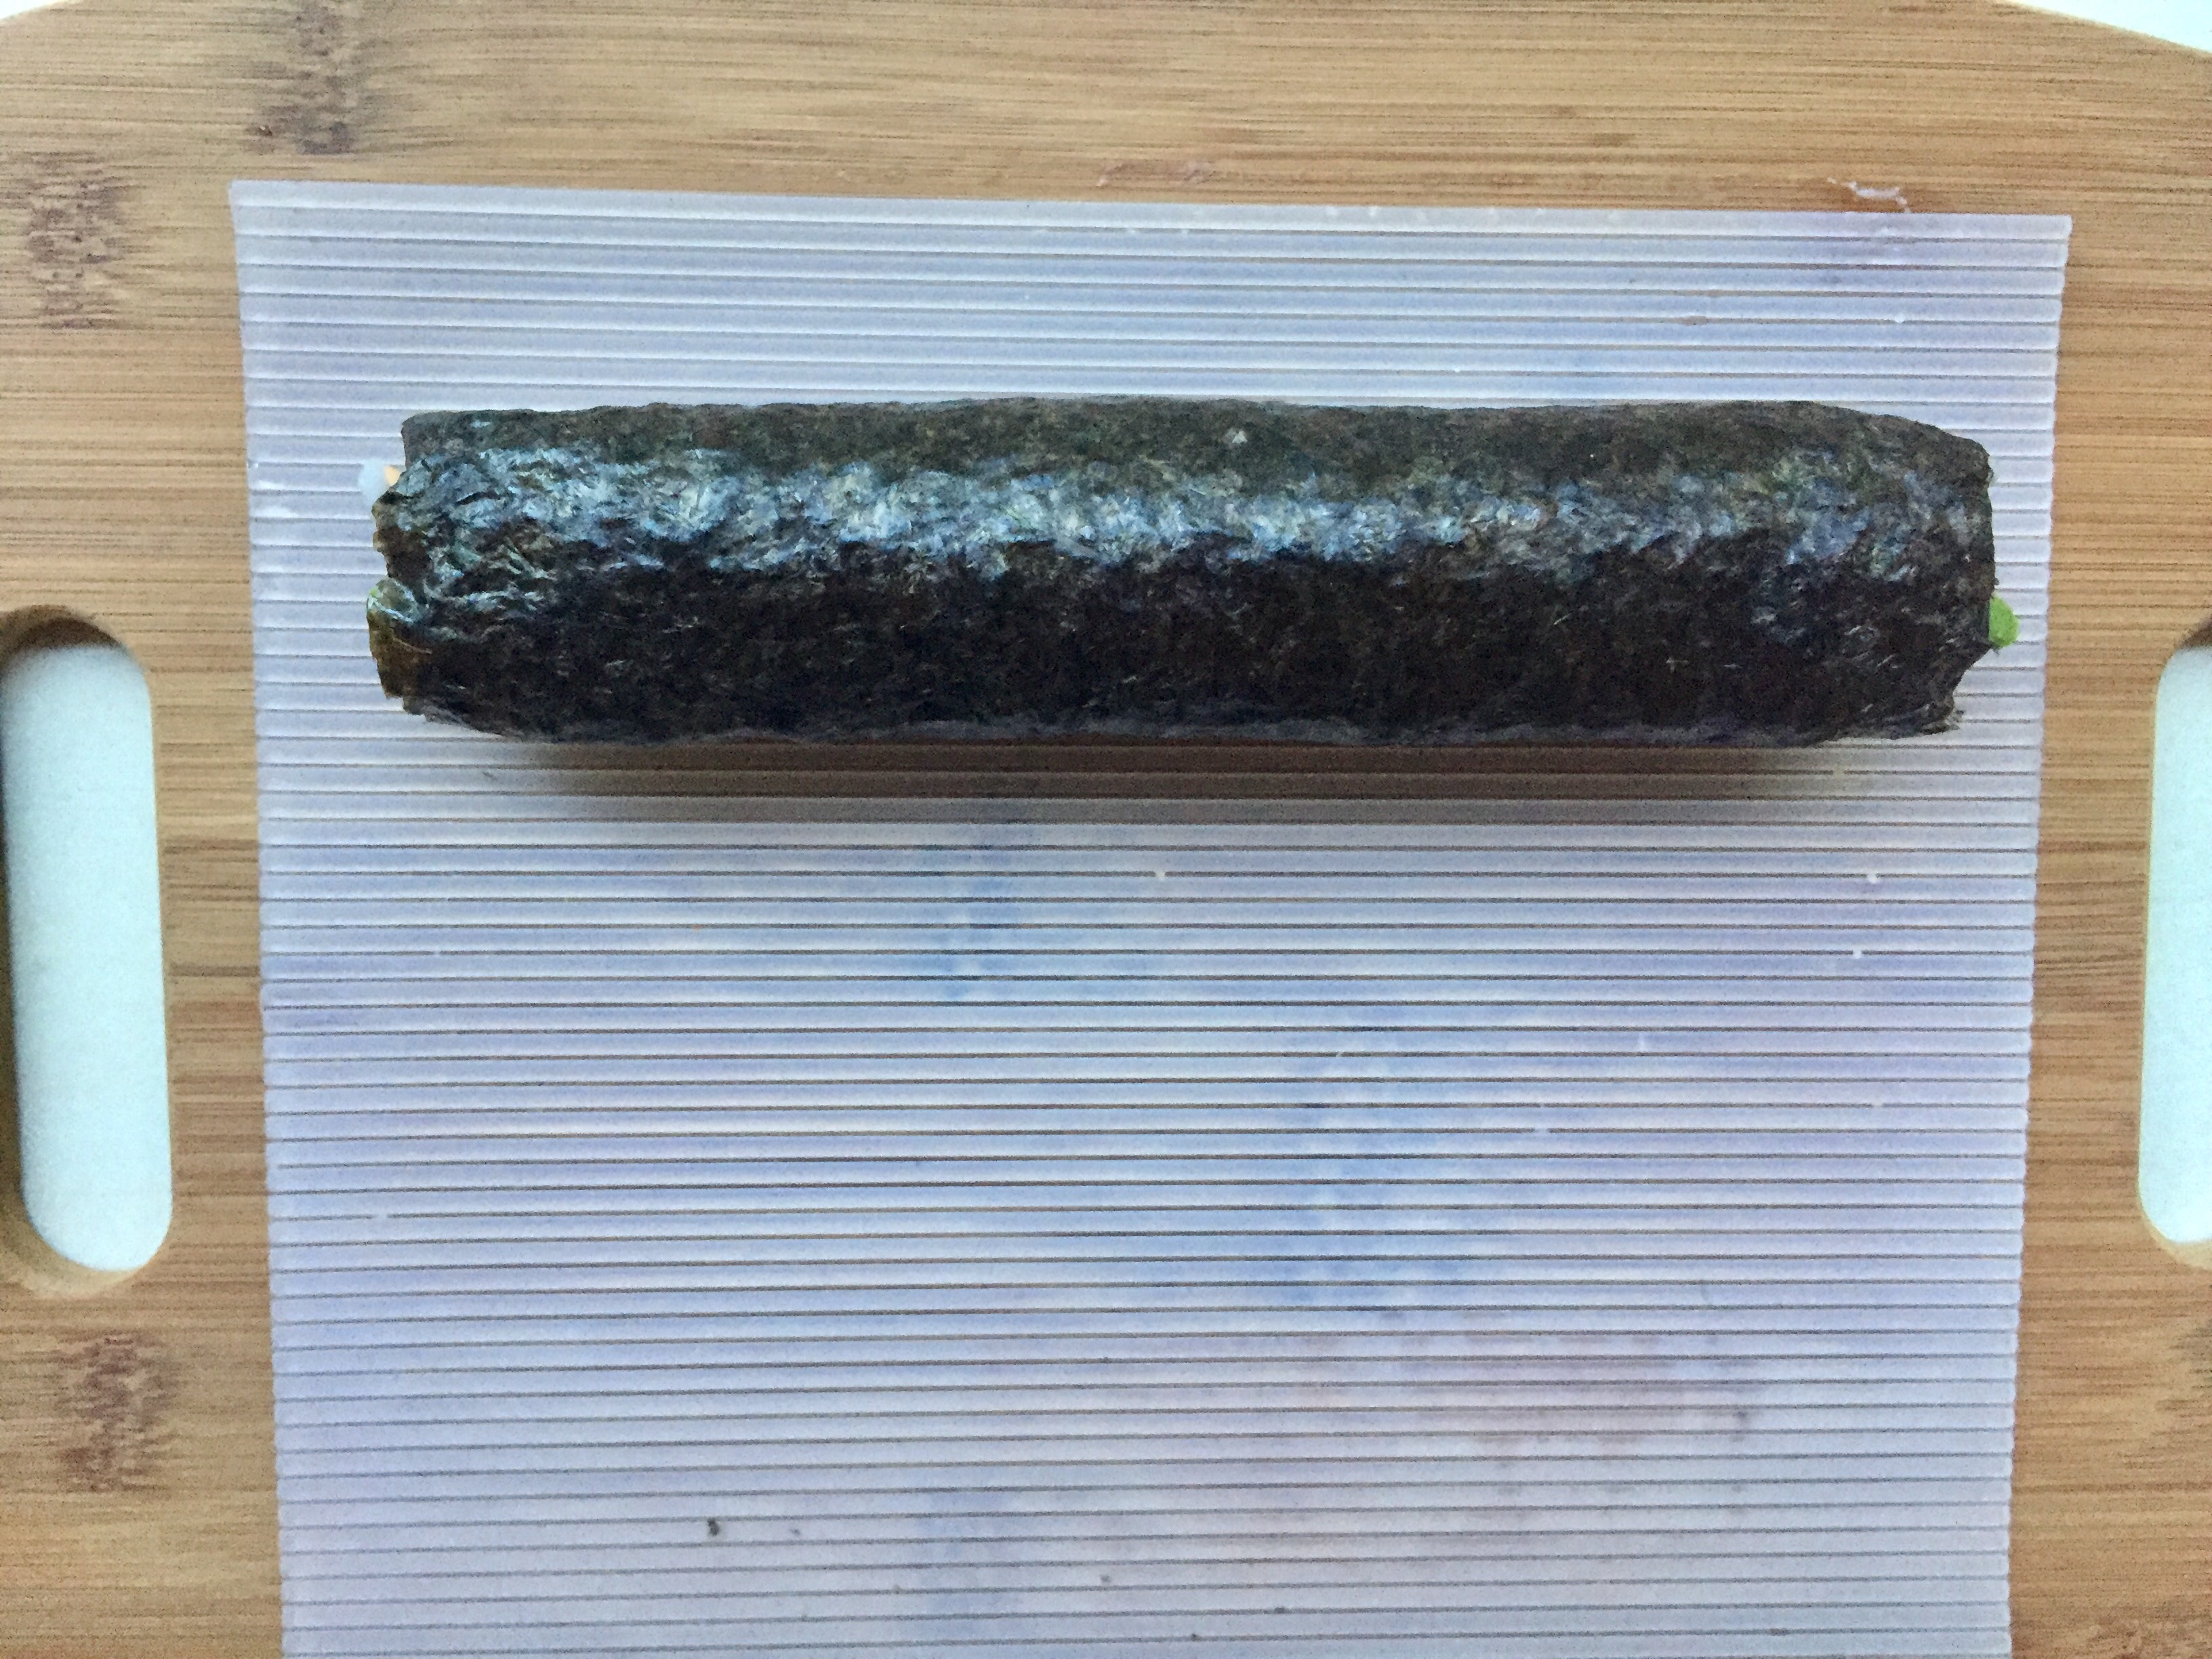
13. You’re almost finished! Wrap your sushi roll in plastic wrap and pop it in the freezer for about ten minutes. This will help it to be as solid as possible while you cut it, reducing the chances of it falling apart. While it’s chilling, repeat all of the above steps to make one or two more sushi rolls with your remaining ingredients.
14. Let’s finish this up! To cut your sushi roll, you’re going to need a very sharp knife. I’m not a sushi chef, so I don’t have a specialized knife for this purpose. I’m assuming that–if you’ve gotten this far into my beginner sushi recipe–you don’t either. I use a chef knife (that’s the huge one in your knife block) and I sharpen it right before I slice my sushi roll. Key words for cutting the sushi roll: firm, quick, gentle, saw.
15. Remove the sushi roll from the plastic wrap and begin by cutting off the very ends of the roll. Remember to use a firm, gentle sawing motion, and remember to move quickly. The ends tend to be a little sloppy, so this keeps everything neat. You can eat those as an appetizer at this very moment.
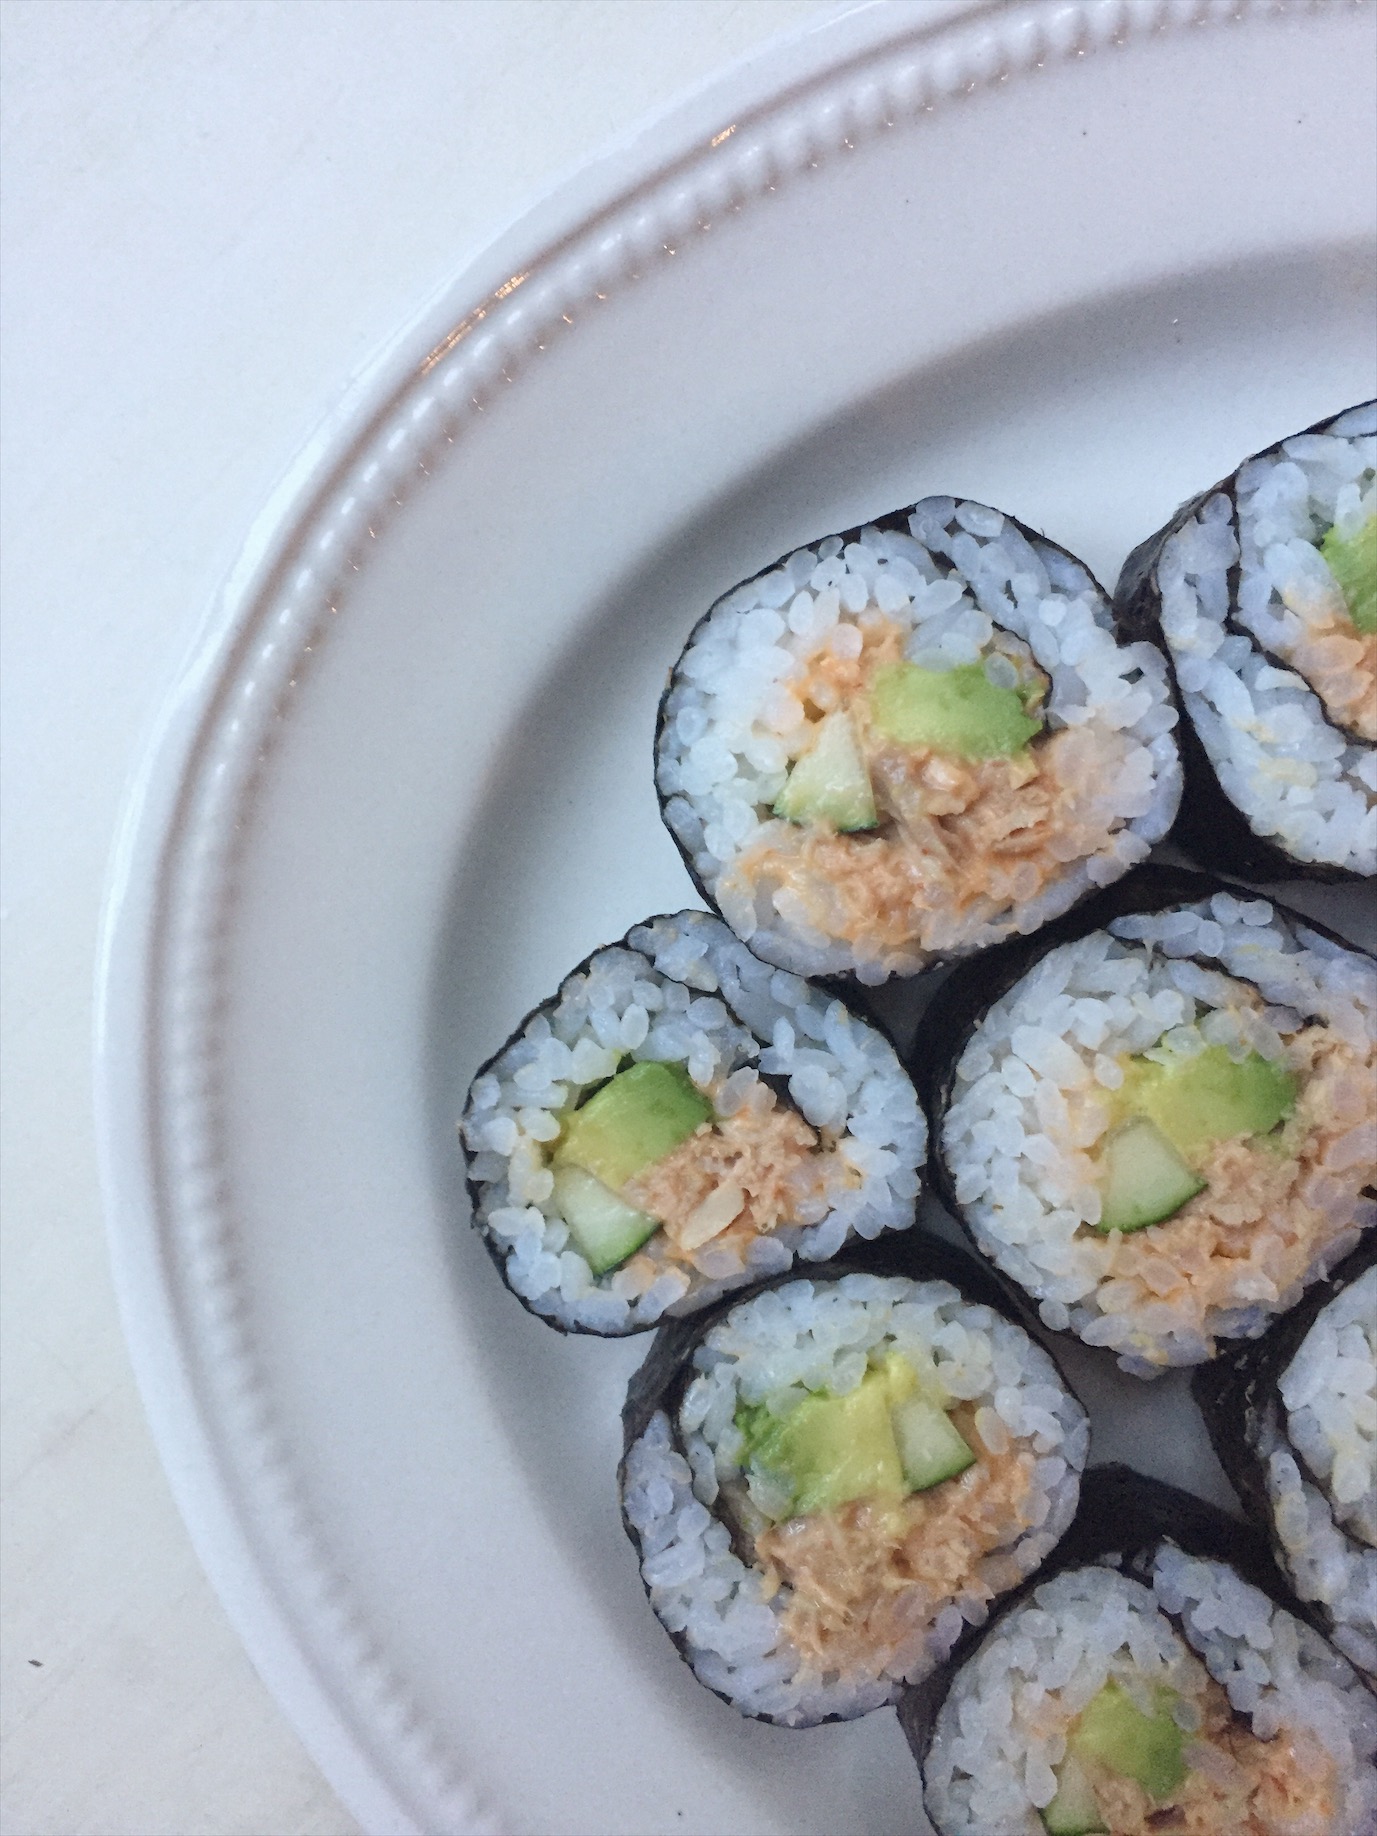
16. Now cut your sushi roll in half, right through the middle. Cut each of those two halves in half again. Now cut each of those four pieces in half again. You should end up with eight fairly equal pieces of sushi. Serve immediately. Soy sauce, pickled ginger, and wasabi are all great extras!
You’re finished! That wasn’t too bad, was it? Even if it was, do you think maybe you’d be willing to give it another shot? It gets easier each time, I promise. I hope you had fun, and I hope you’ll keep trying new things!!
2 Comments
Pingback:
Pingback: